
 English
 中文简体
 русский
 Español
Minimum Embedment Depth for Wedge Anchors: Sizes, Strength, and Installation Checks
2026-11-19For a standard wedge anchor in uncracked concrete, the minimum effective embedment depth is the published value for the exact anchor diameter, not the full length of the anchor. As a field reference, 1/4 in. anchors often start around 1-3/4 to 2 in., 3/8 in. around 2-1/4 to 2-1/2 in., 1/2 in. around 2-3/4 to 3 in., 5/8 in. around 3-1/4 to 3-1/2 in., and 3/4 in. around 3-3/4 to 4 in. A 1 in. anchor commonly needs 4-1/2 in. or more. The exact figure must come from the anchor manufacturer’s published data because concrete strength, crack status, edge distance, spacing, load direction, and installation tolerance can all change the required depth.
That answer sounds simple, but the number is easy to misapply in the field. A wedge anchor creates holding force when the expansion clip at the bottom is pulled against the concrete as the nut is tightened. The depth that matters is the distance from the concrete surface to the deepest load-bearing point of that expansion element. If a crew measures the wrong part of the anchor, uses a hole that is too shallow, or chooses a longer anchor without checking the fixture thickness, the installation may look correct while the load capacity is far below the design assumption.
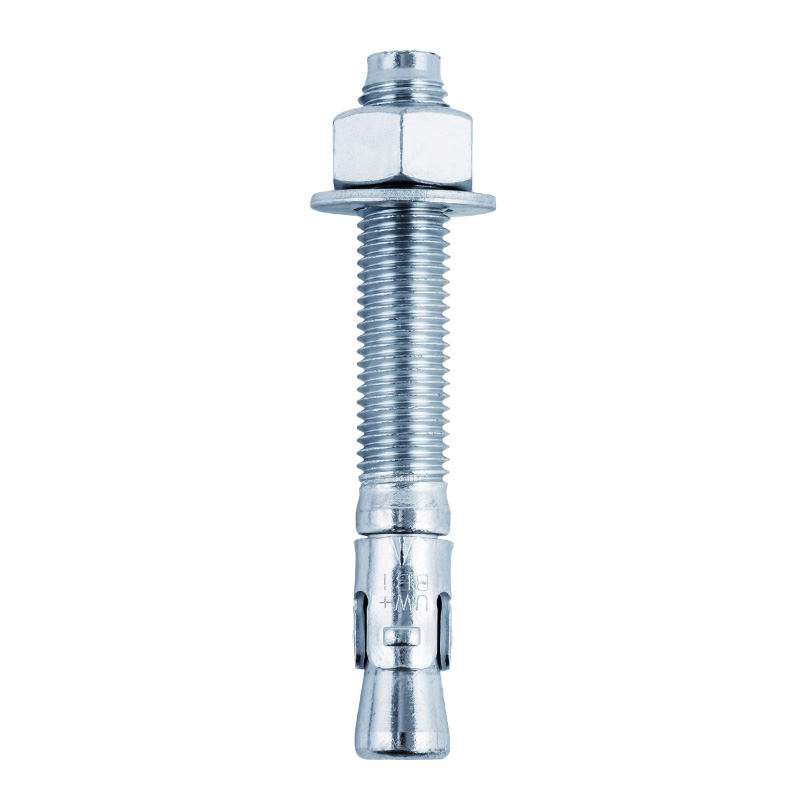
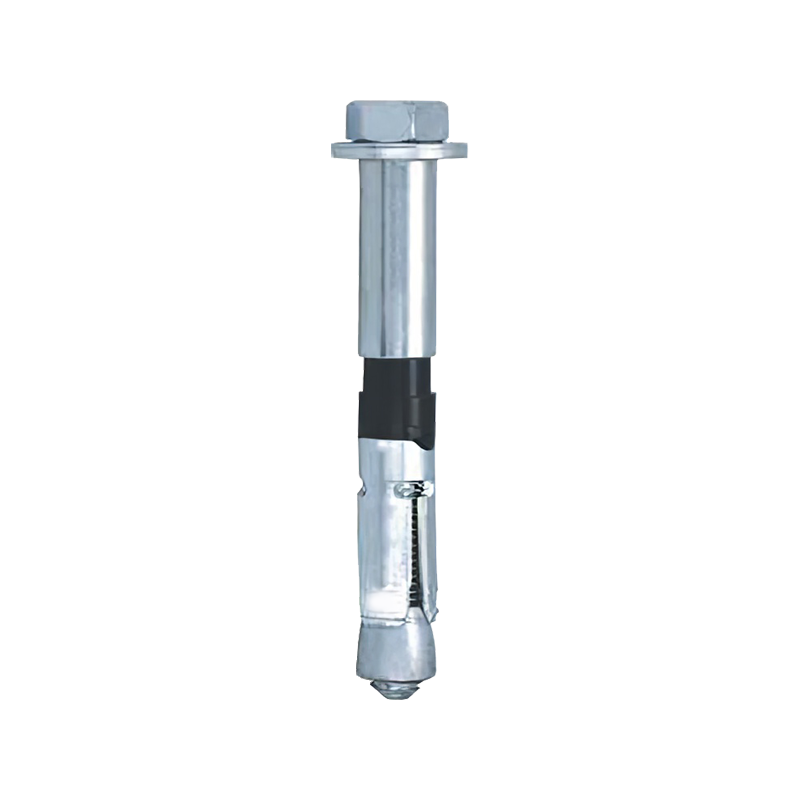
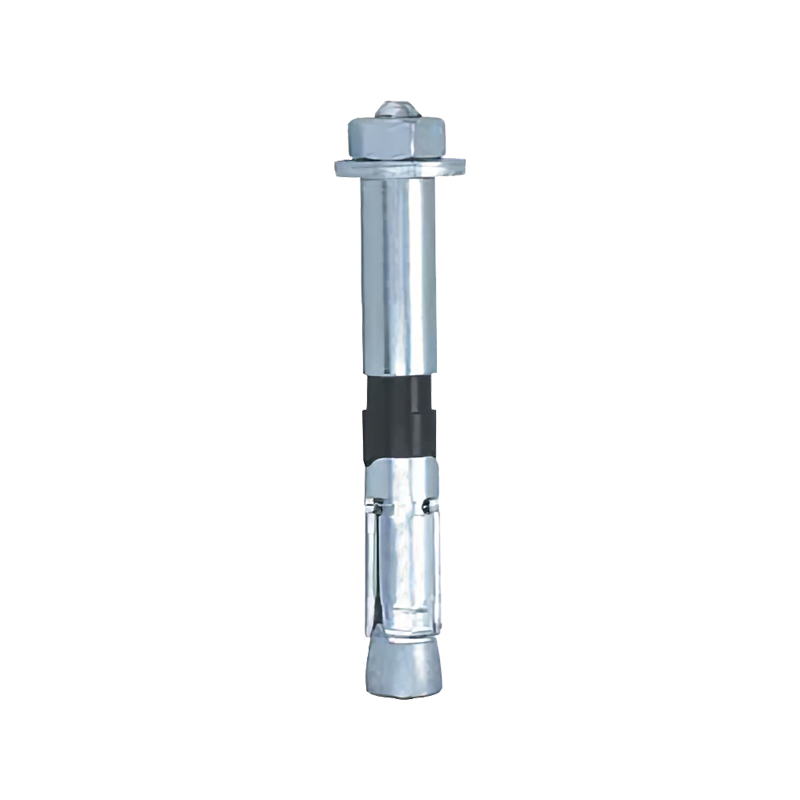
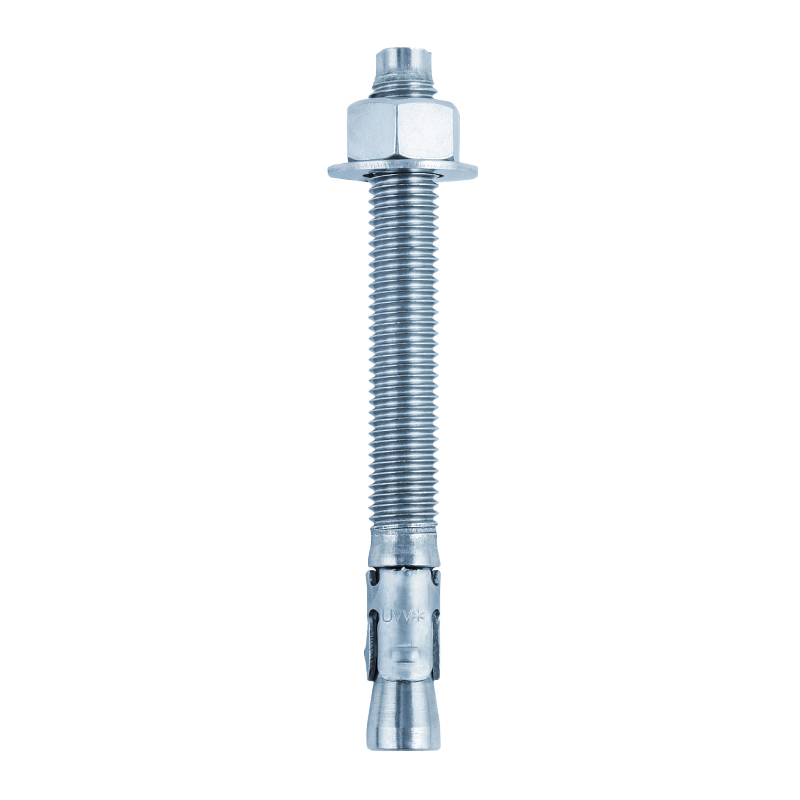 Ultra Wedge Anchor for Heavy-Duty Concrete FasteningHeavy-duty mechanical expansion anchor for solid concrete, in carbon or stainless steel and inch sizes; check specified embedment and torque before installation.View Product →
Effective Embedment, Overall Length, and Hole Depth Are Three Different Numbers
Most confusion around the minimum embedment depth for a wedge anchor comes from mixing up three measurements. The first is overall anchor length. The second is effective embedment. The third is drilled hole depth. They are related, but they are not interchangeable.
Effective embedment is the length of anchor that actually engages the concrete. On a wedge anchor, that is normally measured from the concrete surface to the bottom expansion clip or the deepest point of the wedge mechanism. Overall length includes the threaded portion above the concrete, so two anchors with the same overall length can have different effective embedment once the fixture, washer, and nut are installed.
Hole depth is a drilling instruction. It must be deep enough that the anchor does not bottom out before the expansion element reaches its required embedment. If the hole is too shallow, the installer may tighten the nut while the anchor is resting on the bottom of the hole. The clip may not expand correctly, the stud may not travel as designed, and the resulting tension can be unpredictable. A practical rule from many published instructions is to drill at least 1/2 in. or one anchor diameter deeper than the required effective embedment, but the anchor-specific instruction always controls.
Example: selecting anchor length from fixture thickness
A 1/2 in. wedge anchor has a published minimum effective embedment of 3 in. The fixture is 1-1/2 in. thick. The minimum anchor length needed is approximately 1-1/2 in. fixture + 3 in. embedment + washer and nut allowance + tolerance. In practice, a 5 in. or 5-1/2 in. anchor is often more realistic than a 4-1/2 in. anchor. If the crew buys only by overall length and ignores fixture thickness, the anchor may be too short to reach the required embedment.
The purchasing lesson is straightforward: do not order wedge anchors from a diameter-only description. Confirm the fixture thickness, the required effective embedment, the hole depth, and the anchor length in one review. A short anchor in a thick fixture is one of the most common causes of shallow embedment on site, and it is rarely obvious after installation because the nut and washer can still sit neatly against the fixture.
Minimum Embedment Depth by Wedge Anchor Diameter
The table below gives typical reference ranges for standard wedge anchors in uncracked concrete. It is useful for early planning, quotation checks, and site conversations, but it is not a substitute for the approved data for the exact product. Different anchor lines can use different clip lengths, thread lengths, and load tables even when the diameter is the same.
| Anchor diameter | Typical minimum effective embedment | Typical hole depth target | When the requirement may increase |
|---|---|---|---|
| 1/4 in. (6 mm) | 1-3/4 to 2 in. (45 to 50 mm) | 2 to 2-1/2 in. (50 to 64 mm) | Thin concrete, close edges, cracked concrete, or higher tension loads |
| 3/8 in. (10 mm) | 2-1/4 to 2-1/2 in. (57 to 64 mm) | 2-3/4 to 3 in. (70 to 76 mm) | Reduced spacing, seismic qualification, or exterior exposure |
| 1/2 in. (12 mm) | 2-3/4 to 3 in. (70 to 76 mm) | 3-1/4 to 3-1/2 in. (83 to 89 mm) | Heavy fixtures, dynamic loads, or design values close to the table limit |
| 5/8 in. (16 mm) | 3-1/4 to 3-1/2 in. (83 to 89 mm) | 3-3/4 to 4 in. (95 to 102 mm) | High shear, combined tension and shear, or thin slab conditions |
| 3/4 in. (20 mm) | 3-3/4 to 4 in. (95 to 102 mm) | 4-1/4 to 4-1/2 in. (108 to 114 mm) | Heavy structural connections and larger edge-distance demands |
| 1 in. (25 mm) | 4-1/2 to 5 in. (114 to 127 mm) | 5 to 5-1/2 in. (127 to 140 mm) | Large base plates, high-capacity designs, and strict installation tolerances |
For a narrower installation walk-through, see how deep a wedge anchor should go into concrete. The key point is that a value such as 3 in. for a 1/2 in. anchor is an effective embedment target, not a promise that every 1/2 in. wedge anchor in every concrete condition will reach its full table load at that depth.
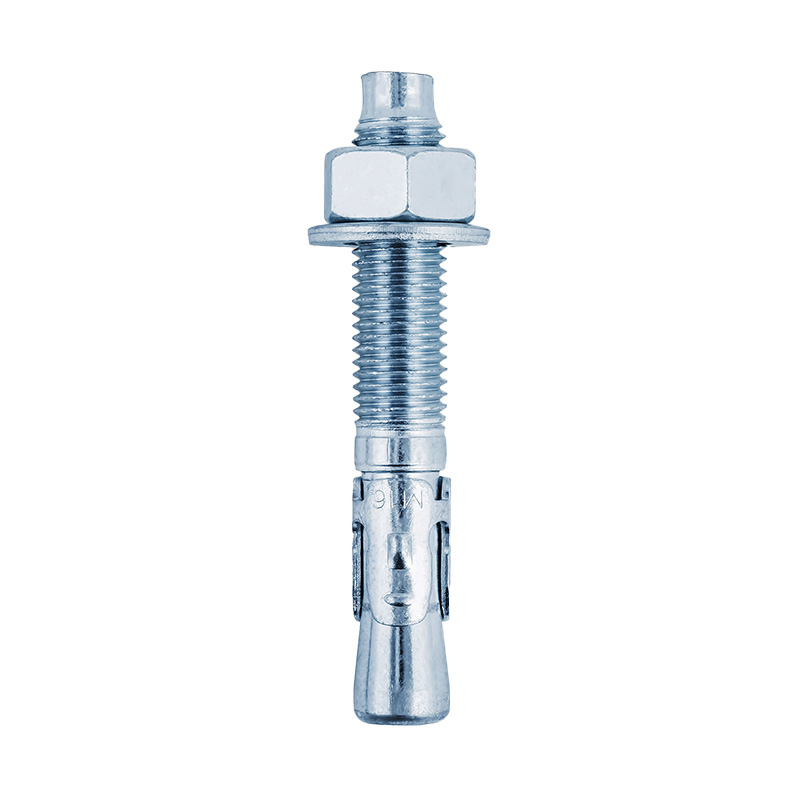
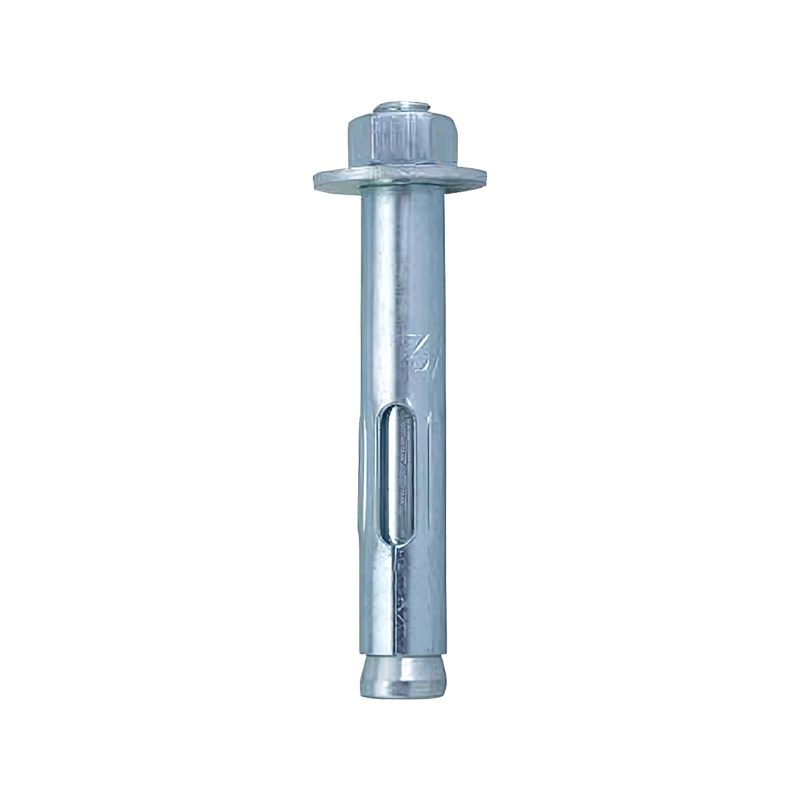
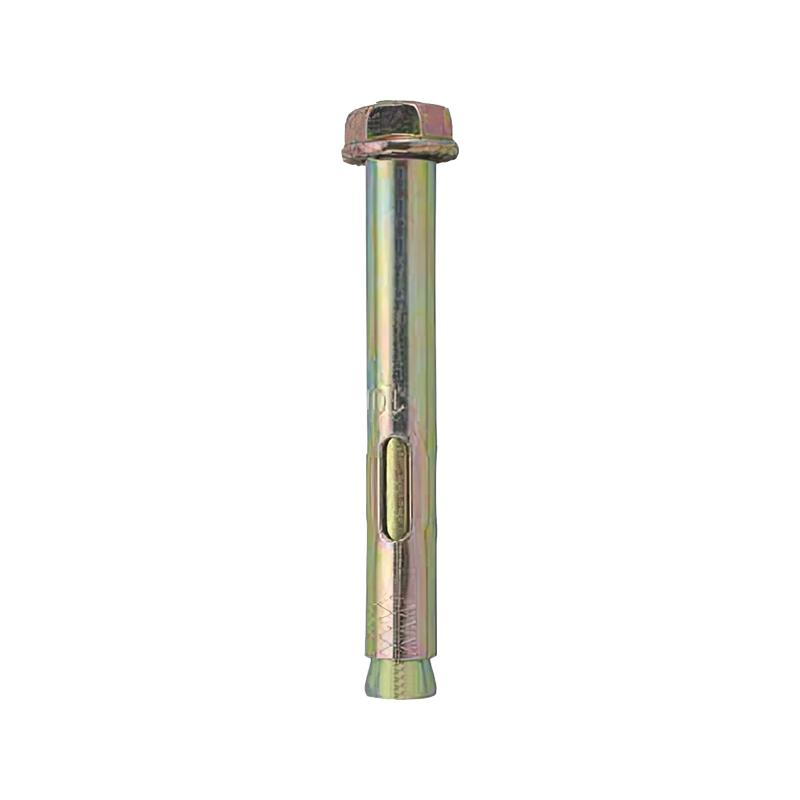
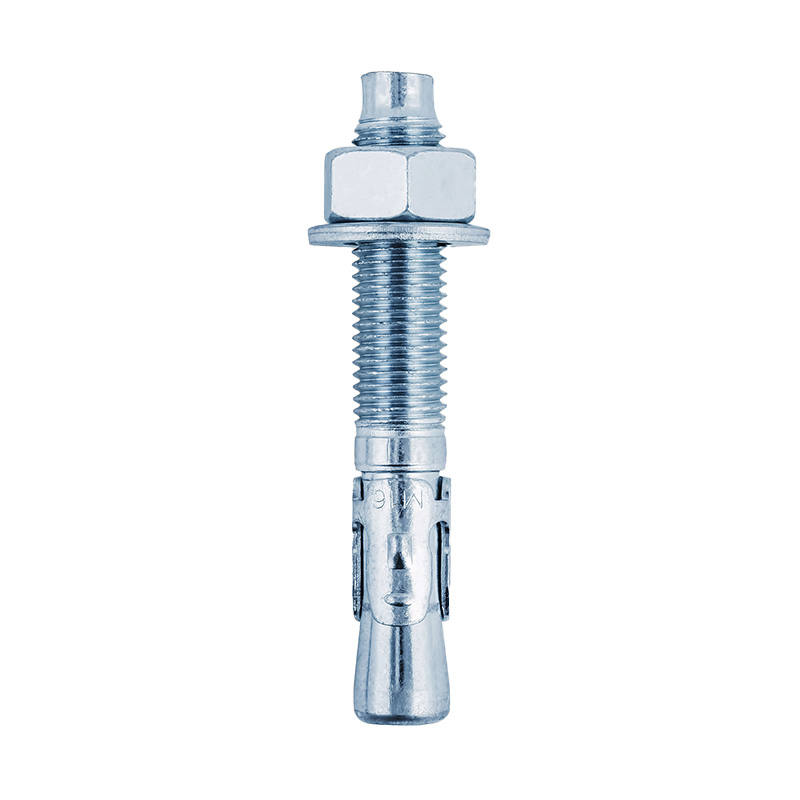 Metric Wedge Anchor for Concrete FasteningMetric mechanical expansion anchor from M6 to M24, with defined burial depths and torques for checking embedment and concrete pull-out capacity.View Product →
What Changes the Minimum: Concrete, Cracks, Loads, and Exposure
The minimum embedment depth is not only a geometric rule. It is tied to a load model. When an anchor is pulled in tension, the concrete around it forms a breakout cone. A shallow anchor engages a smaller volume of concrete, so the breakout surface is closer to the surface and the capacity falls. As embedment increases, the failure mode may shift from concrete breakout to steel tension, clip slip, or another controlled mode. That is why “deeper is stronger” is directionally true for breakout, but “deeper is always better” is not a safe design rule without checking the full anchor system.
Concrete strength
Lower compressive strength generally reduces concrete breakout capacity. A 3 in. embedment in a high-strength slab and a 3 in. embedment in a low-strength slab are not equivalent for design. Field testing may be required where the concrete strength is unknown, especially in older buildings or repairs where the original design mix is not documented.
Cracked or uncracked concrete
A standard wedge anchor is commonly evaluated for uncracked concrete unless the product is specifically qualified for cracked concrete. Cracks can intersect the breakout cone and reduce capacity. If the slab is expected to crack in service, or if the anchor is in a tension zone, the approved cracked-concrete value must be used. Do not take an uncracked-concrete table and apply it to a cracked condition.
Tension, shear, and combined loading
Tension loads demand breakout resistance. Shear loads demand edge-distance and pry-out checks. Combined tension and shear require interaction checks. A shallow embedment may pass a pure shear check in one location but fail a tension check in the same slab. The installation drawing should state the load direction, the design value, and the governing failure mode.
Corrosion and exterior exposure
Exterior walls, parking structures, coastal sites, and wet industrial areas require attention to coating or material selection. Corrosion does not change the published minimum embedment by itself, but it changes the product selection and may change the approved load data over time. A zinc-plated anchor in a wet exterior environment may not match the durability assumption behind the design, even if the embedment depth is correct.
Do not mix tables from different anchor lines
A 1/2 in. anchor from one product line may have a different minimum effective embedment and a different load table from another 1/2 in. anchor. Diameter alone does not define capacity. Use the published data for the exact item, including coating, thread length, and expansion clip design.
Edge Distance, Spacing, and the Exterior-Wall Question
Minimum embedment depth is only one part of the geometry check. Edge distance and spacing can govern the design before the anchor reaches its full embedment capacity. An anchor placed too close to a free edge may cause side-face blowout or a reduced breakout cone. Two anchors placed too close together may overlap their breakout zones and reduce group capacity.
Exact edge and spacing values should come from the published tables and the project design. As a planning caution, many wedge anchor systems require significantly more edge distance than the anchor diameter alone would suggest, and tension loads are usually more sensitive than shear loads. If the drawing shows a base plate close to a slab edge, check the anchor schedule before drilling. Moving a hole by a few inches during installation can change the failure mode.
This is also where the often-quoted “7 in. into concrete” note for exterior walls needs context. A project specification, a local code interpretation, or a specific exterior-wall detail may call for a deeper embedment or a different anchor type. That number should not be treated as a universal minimum for every wedge anchor. It may reflect a particular wall assembly, wind load, corrosion requirement, or code condition. The safe approach is to compare the project specification with the manufacturer’s published effective embedment and the engineer’s approved submittal. If the two conflict, resolve the conflict before drilling.
Practical edge and spacing review
- Mark the anchor layout on the concrete before drilling, not after the fixture is positioned.
- Check the nearest free edge in the direction of the load, not only the visual edge of the slab.
- Confirm group spacing when anchors share a base plate or a bracket.
- Look for hidden edges such as control joints, block walls, and thin topping slabs.
- Do not relocate a hole without checking the new edge distance and embedded items.
Hole Depth and Installation Tolerance: Practical Checks
Many installation failures blamed on “bad anchors” are actually hole-preparation failures. A wedge anchor needs a clean, correctly sized hole with the right depth. The drill bit must match the anchor diameter and be within the specified tolerance. A worn bit can drill an oversized hole, reducing friction and changing expansion behavior. A hammer drill in the wrong mode can enlarge the hole or damage the concrete around it.
Depth control matters because the anchor must not bottom out. Use the depth mark on the drill bit, a depth stop, or a marked rod. After drilling, clean the hole according to the published instruction: blow out dust, brush the hole, and blow again. In overhead or horizontal holes, dust can settle and prevent full embedment if the hole is not cleaned properly. In wet conditions, check whether the anchor is approved for that environment and whether water is present in the hole.
Pre-installation checks that protect embedment
- Confirm the anchor diameter, length, coating, and published effective embedment.
- Measure fixture thickness and calculate the required anchor length.
- Set the drill depth to the required hole depth, including clearance at the bottom.
- Use the correct bit size and replace worn bits before they oversize the hole.
- Clean the hole with the specified brush and air sequence.
- Insert the anchor without forcing it through a tight or shallow hole.
- Tighten with a calibrated torque wrench to the published torque value.
- Record the installed depth, torque, and any deviations from the drawing.
Torque is part of the embedment story. Under-tightening may leave the expansion clip not fully seated. Over-tightening can pull the clip through the concrete, spall the surface, or damage the thread. Impact wrenches can easily exceed the specified torque. For any structural or safety-related connection, use a torque wrench and verify the value rather than judging by feel.
Field Mistakes That Reduce Embedment
Shallow embedment rarely announces itself. The anchor may feel tight, the nut may sit flush, and the fixture may look secure. These are the common mistakes that create hidden risk.
Other common issues include drilling through a topping slab into a void, using a bit that is too large, failing to clean dust from the hole, installing into cracked concrete with an uncracked-concrete value, and reusing an anchor that was already expanded. A wedge anchor is generally a single-use item. Once the clip has been deformed, removing and reinstalling it can compromise the holding mechanism.
In repair work, the risk increases because the original drawings may be missing. A crew may match the visible anchor diameter but not the original embedment. If the replacement anchor has a different clip length or thread length, the old hole may not be suitable. In those cases, a pull test or an engineer’s assessment is more reliable than a visual match.
Red flag: the nut runs down too far
If the nut travels far down the stud before resistance is felt, the anchor may be bottoming out, the hole may be too deep, or the wrong anchor length may have been supplied. Stop and verify the installation instead of adding washers or over-tightening to compensate.
What to Specify to a Manufacturer
A clear inquiry reduces the chance of receiving an anchor that meets the diameter but not the embedment requirement. Provide the application, the base material, the fixture thickness, the required load, the load direction, the edge distance, the spacing, the exposure condition, and the expected concrete strength. If the project has a specification section or an approved submittal, share the relevant pages. A manufacturer can then check the anchor length and the published effective embedment against the actual detail.
For standard wedge anchor projects, the ultra wedge anchor and metric wedge anchor families are common starting points because they cover a range of diameters and thread conventions. The important selection step is not the product name alone. It is the match between the anchor’s published effective embedment, the fixture detail, and the design load. A supplier who asks for those details before quoting is usually easier to work with than one who quotes only by diameter and length.
When comparing quotations, check whether the quoted length is the overall length or the usable length. Check whether the coating matches the exposure. Check whether the published embedment is stated in the submittal. A lower-priced anchor that requires a deeper hole, a longer stud, or a different drill bit can cost more in installation time and rework than the initial price suggests.
Useful purchase details
- State the required effective embedment, not only the anchor length.
- Confirm the anchor is approved for the concrete condition, including cracked concrete if applicable.
- Ask for the installation instruction and the load table with the quotation.
- Confirm the torque value and the required drill bit size.
- Check the coating or material for exterior, wet, or coastal exposure.
FAQ: Minimum Embedment Depth for Wedge Anchors
Is 2 in. enough for a 1/2 in. wedge anchor?
Usually no for a standard 1/2 in. wedge anchor in uncracked concrete. Many 1/2 in. products publish a minimum effective embedment around 2-3/4 to 3 in. A 2 in. embedment may fall below the approved value unless the specific product lists it. Check the exact anchor data and the design load.
What is the minimum embedment for a 3/8 in. wedge anchor?
A common reference range is 2-1/4 to 2-1/2 in. effective embedment. Hole depth is usually deeper, often around 2-3/4 to 3 in. The published value for the exact product controls.
Can I use a longer anchor to get more embedment?
Only if the hole is deep enough and the fixture detail allows it. A longer anchor does not help if the hole is shallow or the anchor bottoms out. It also increases the exposed stud length, which may affect nut position and corrosion protection.
Does deeper embedment always increase capacity?
It generally increases concrete breakout resistance, but the governing failure mode may shift to steel, clip slip, or another limit. The approved load table already accounts for the tested embedment. Do not assume that any depth beyond the table is automatically stronger in every load case.
What if the hole is too deep?
A hole deeper than required is usually acceptable if it is cleaned and the anchor still reaches the specified embedment and torque. The risk is that the anchor sits too low or the stud length is insufficient. Do not fill the hole with debris or unapproved material to adjust depth.
Can wedge anchors be used in cracked concrete?
Only when the specific anchor is qualified for cracked concrete. Standard wedge anchor values are often based on uncracked concrete. Cracked-concrete approval, seismic approval, and reduced capacity are separate checks.
How do I verify embedment after installation?
Verify before tightening by measuring the anchor and hole depth, and after installation by checking the exposed stud length against the calculated value. Where critical, use the project’s inspection or testing requirements. Do not rely on torque feel alone to prove embedment.
Why does the same diameter have different values?
Different anchor lines use different clip lengths, thread lengths, materials, and test programs. A 1/2 in. anchor is a diameter, not a capacity rating. The published effective embedment and load table belong to the exact product.
Quick Field Checklist Before the Drill Starts
- Identify the exact anchor product, diameter, length, and coating.
- Read the published minimum effective embedment for that product.
- Calculate anchor length from fixture thickness plus embedment plus tolerance.
- Set the drill depth to the required hole depth, with bottom clearance.
- Check edge distance, spacing, and hidden embedded items.
- Confirm the concrete condition and whether cracked-concrete approval is required.
- Clean the hole with the specified brush and air sequence.
- Tighten to the published torque with a calibrated wrench.
- Record any deviation before the fixture is closed out.


Contact Us