
 English
 中文简体
中文简体 русский
 Español
How to Install Single Expansion Anchors | Step-by-Step Guide
2026-08-31What Is a Single Expansion Anchor and How Does It Work?
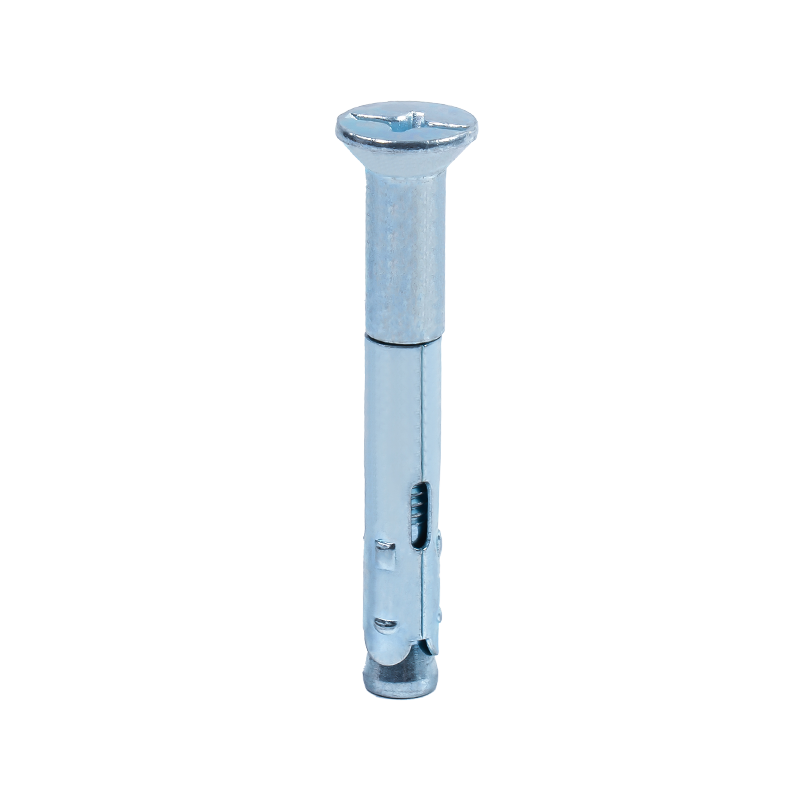
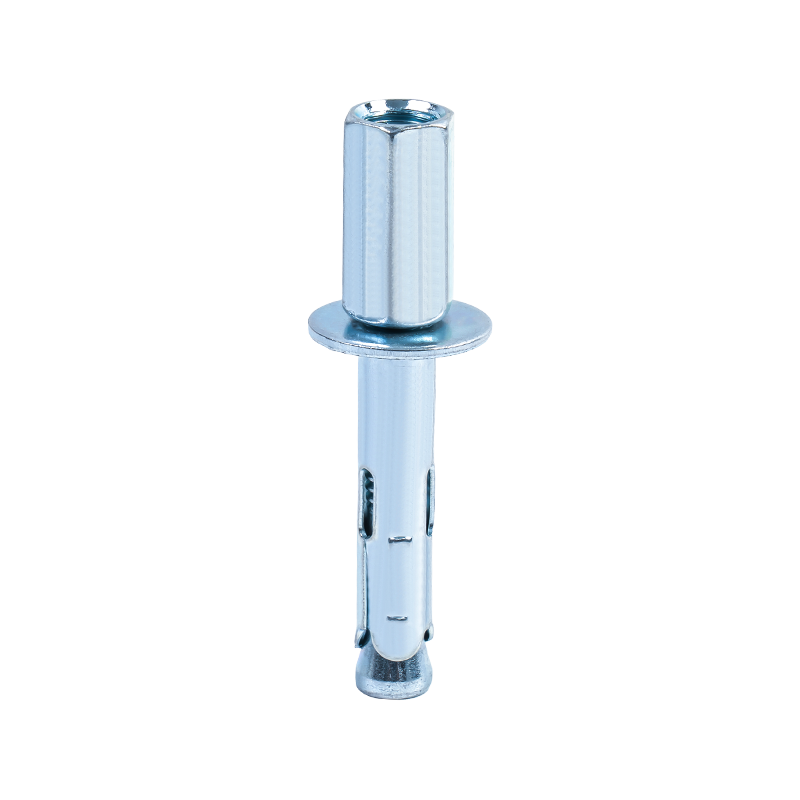
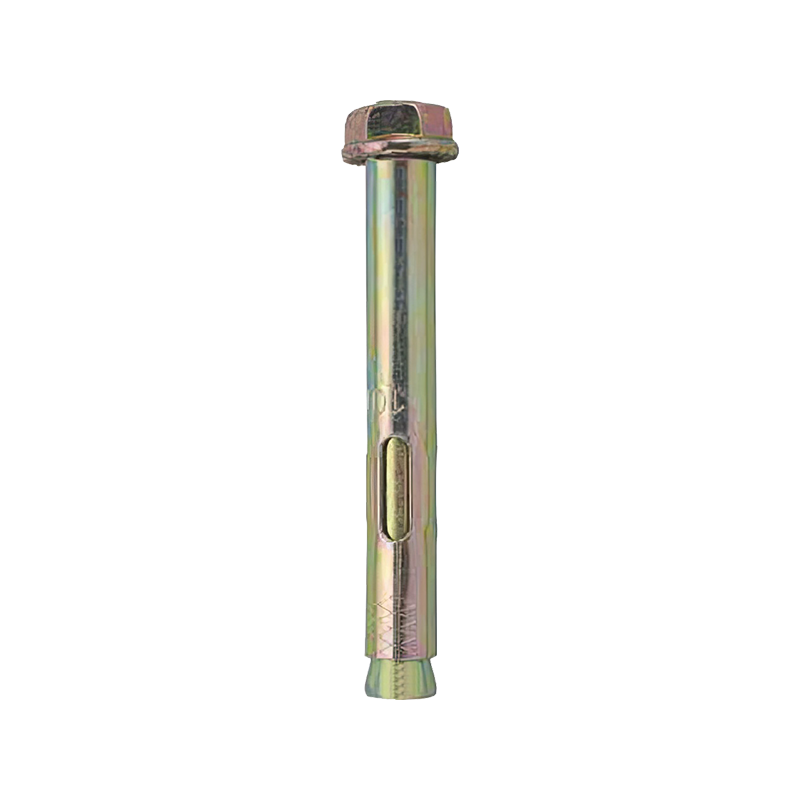
A single expansion anchor is a mechanical fastener that locks inside a drilled hole in concrete, brick, or block. It is built from a split metal sleeve, a pre-assembled expansion cone, and an internal thread. When you thread a machine bolt into the anchor, the bolt pushes the cone downward, forcing the sleeve outward against the hole wall. The result is friction plus mechanical interlock between the sleeve and the base material. That mechanism explains why hole quality matters so much when you install one.
For light to medium-duty work, a single expansion anchor is economical and easy to install. The body is usually made of Zamac, a zinc alloy that resists corrosion well enough for outdoor fixtures. Typical jobs include handrails, lamp brackets, cable trays, pipe clamps, and equipment mounts on concrete floors or walls. Because the anchor sits flush with the surface, it also suits finished panels and overhead work. If you are comparing sizes and internal thread options before you buy, browse our single expansion anchors to see the available configurations.
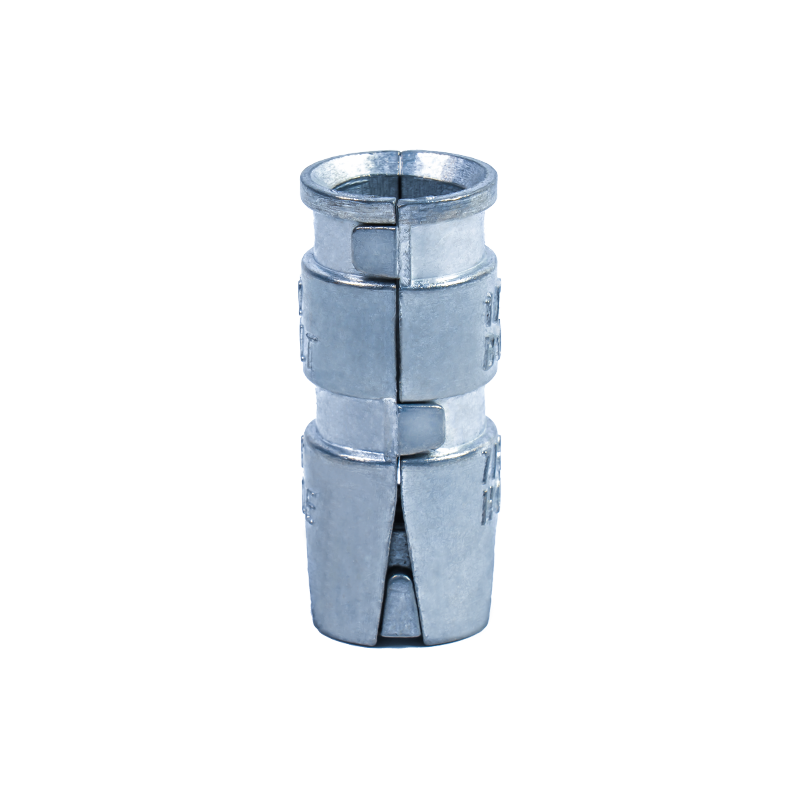 Zinc Alloy Single-Head Anchors Manufacturers, SuppliersAs China Zinc Alloy Single-Head Anchors Manufacturers and Single Expansion Anchor Custom Suppliers, Nanshan Development Co., Ltd. offer W...View Product →
One characteristic worth knowing before you start: the anchor relies on the expansion sleeve, not on adhesive or grout. There is no curing time, and the holding value is available as soon as the bolt is tightened. That makes these anchors convenient for work that has to be completed in one visit.
Tools and Materials You Will Need
Gather everything before you start drilling. Interruptions in the middle of an installation usually end with a half-finished anchor.
- Single expansion anchors in the diameter and length your fixture and load require.
- Hammer drill with a carbide-tipped bit sized to the anchor's outside diameter.
- Blow bulb or vacuum and a stiff wire brush for cleaning the drilled holes.
- Hammer for seating the anchor flush.
- Machine bolts that match the anchor's internal thread; confirm thread pitch and length with your supplier before starting.
- Wrench or socket set for final tightening.
- Safety glasses, ear protection, and work gloves.
Step-by-Step Installation Guide
Professionals follow the same sequence every time: mark, drill, clean, insert, seat, and tighten. Each step exists for a reason that comes back to how the anchor expands.
Step 1: Mark the Installation Points
Mark each mounting position, then inspect the layout. Anchors need solid material around them to develop their rated grip. In concrete, stay away from free edges, corners, and existing cracks, and keep enough space between anchors so expansion pressure does not overlap. Follow the manufacturer's minimums; the article on spacing and edge distance considerations explains why these clearances have a direct effect on anchor performance.
Avoid brick mortar joints, which crush under expansion pressure, and place the anchor near the center of the brick unit instead. Skip areas with honeycombing, spalling, or structural cracks. In damaged material, even a perfect installation will not reach the rated holding value.
Step 2: Drill the Hole to the Correct Diameter and Depth
Use a carbide-tipped bit with the same diameter as the anchor's outside diameter. A 1/4-inch anchor calls for a 1/4-inch bit, a 3/8-inch anchor for a 3/8-inch bit; exact sizes for less common diameters are printed on the packaging. Check the bit before drilling. A dull bit leaves a rough, oversized hole, and a bent bit drills off-axis. Because the expansion sleeve depends on firm contact with the hole wall along its full depth, an oversized hole directly lowers pull-out strength. Experienced installers report that exceeding the specified diameter by just 1/8 inch can cut ultimate pull-out strength by roughly half.
Drill with the hammer function on and keep the drill perpendicular to the surface. Push lightly; heavy pressure forces the bit off-axis and can break out the back of the hole. Pull the bit out every half inch or so to clear dust and keep the cutting edge working.
Drill to at least the full embedment length of the anchor, and ideally about 1/2 inch deeper so dust has space and the cone can travel fully. Mark the bit with tape at the target depth or use a depth stop. If you hit reinforcement steel, stop and move the hole.
Step 3: Clean the Hole Thoroughly
Drill dust is a boundary layer. If it stays on the hole wall, the expansion sleeve cannot seat fully, and grip drops sharply. Blow out the loose dust, scrub the walls with the wire brush, and blow out again. Repeat until the brush comes out clean. This takes less than a minute per hole and prevents most pull-out failures.
Step 4: Insert the Single Expansion Anchor
Slide the anchor into the cleaned hole, split sleeve first. Tap the top lightly with a hammer until the anchor sits flush with or slightly below the surface. Stop there; heavy hammering can damage the sleeve. Check for side-to-side movement. Some snugness is normal, but visible wobble means the hole is oversize. Move to a fresh location, step up to a larger anchor, or switch to a sleeve-style anchor that handles imperfect holes better. Match the machine bolt length to the job: it must pass through the fixture and still engage enough anchor thread to reach the recommended torque.
Step 5: Set the Fixture and Insert the Machine Bolt
Position the fixture over the anchors so the mounting holes line up. Start the machine bolt by hand through the fixture and into the anchor thread; hand threading avoids cross-threading and lets you feel the engagement. Once snug, finish with a wrench or socket.
Step 6: Tighten to the Correct Torque (Without Over-Tightening)
Overtightening expands the sleeve beyond its design range and can crack the concrete at the hole mouth or deform the sleeve. Any of these reduce holding power. If the package gives a torque value, use a torque wrench. If not, snug the bolt and rotate one-half to three-quarters of a turn as a practical rule. The machine bolt can be removed and replaced later for maintenance, but the anchor body stays permanently embedded; it is not designed to be pulled out and reused.
Common Installation Mistakes and How to Avoid Them
Most failed installations come down to a few repeated errors. The table lists what goes wrong, what the result is, and how to prevent it.
| Mistake | What happens | How to avoid |
|---|---|---|
| Oversized hole | The sleeve cannot contact the wall, so pull-out strength drops sharply. | Use a sharp carbide bit with the exact anchor diameter. |
| Hole drilled too shallow | The cone cannot travel far enough, so the anchor never expands fully. | Drill 1/2 inch deeper than the embedment length. |
| Dust left in the hole | The sleeve cannot seat against the hole wall, reducing grip. | Blow out, brush, blow out again. |
| Dull or bent bit | Oversized or slanted hole. | Replace the bit as soon as it starts cutting slowly. |
| Overtightening | Concrete cracks near the hole mouth or the sleeve deforms. | Use the torque value or turn 1/2 to 3/4 turn past snug. |
| Edge or spacing too small | Concrete cracks or shears off during expansion. | Respect the recommended edge and spacing minimums. |
| Poor concrete with large aggregate | The hole wall spalls and the bit wanders. | Use a longer sleeve-style anchor or reposition the hole. |
The oversized hole is the hardest to detect because 1/8 inch is barely visible to the eye. According to experienced installers, that small difference can reduce ultimate pull-out strength by roughly half. If you suspect the hole is too large, do not keep tightening; relocate the hole and drill again with a sharp bit.
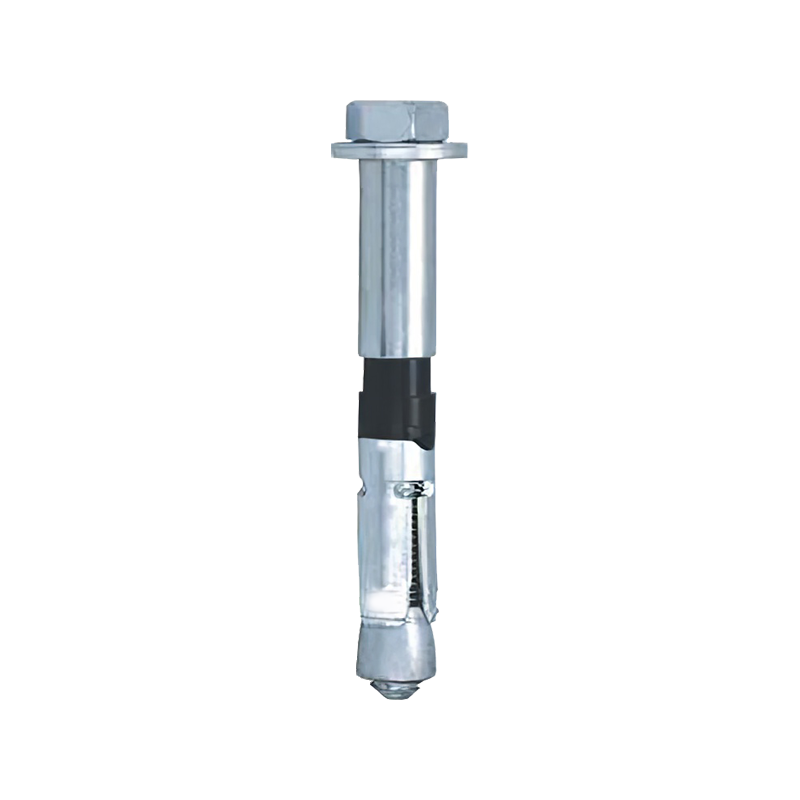
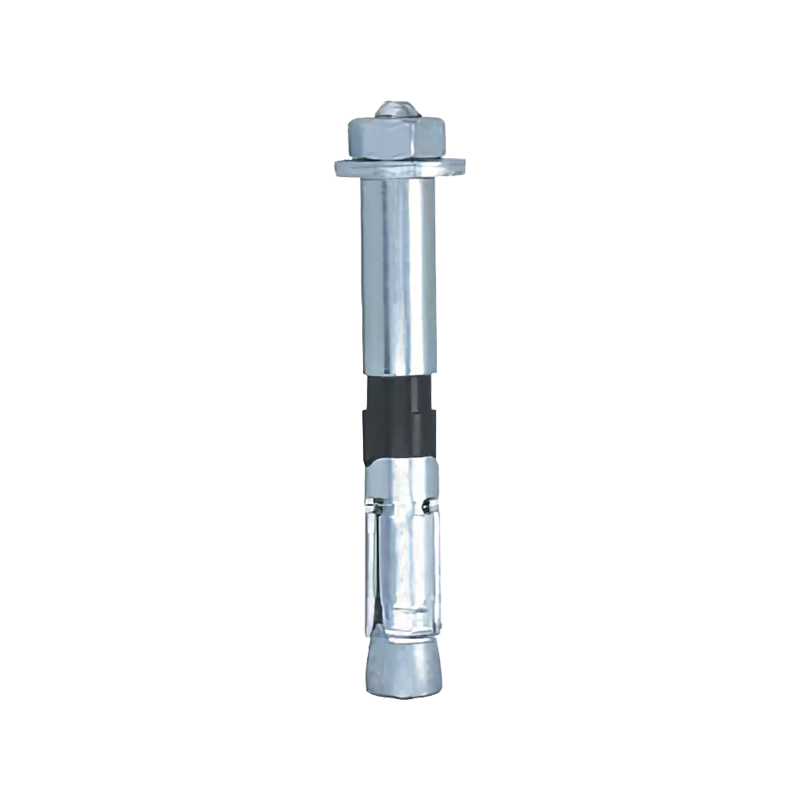
In low-quality concrete or bases with large aggregate, the bit can also wander and knock pieces out of the hole wall. If the base material keeps spalling, switch to a product family designed for those conditions: sleeve type rod hangers and similar sleeve-style anchors distribute expansion along a longer section of the hole and tolerate imperfect bores.
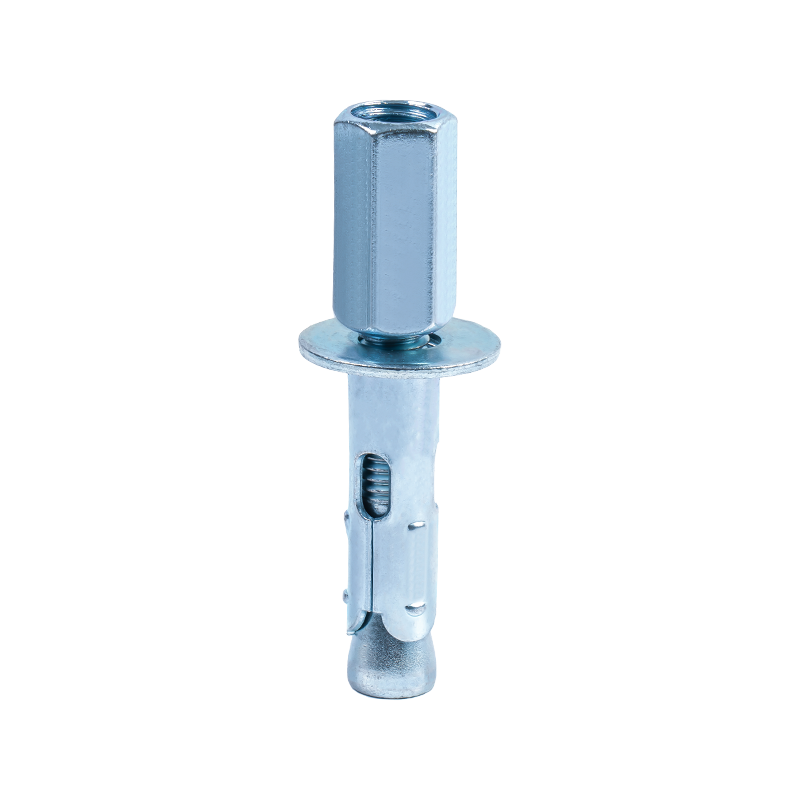 Wholesale Sleeve Type Rod Hangers Manufacturers, Custom Suppliers - Yuyao NanshaYuyao Nanshan Development Co., Ltd is China Custom Sleeve Type Rod Hangers Manufacturers and Wholesale Sleeve Type Rod Hangers Suppliers,...View Product →
Also note that most pull-out failures show up within minutes of tightening, not years later. The anchor either holds or it does not, so test each anchor before you fully load the fixture.
Single Expansion Anchor vs. Other Anchor Types: Which Should You Use?
Choose by base material and load before you consider price. The comparison table covers the four families most often used for concrete and masonry.
| Anchor type | Best suited for | Main characteristics |
|---|---|---|
| Single expansion anchor | Solid concrete, brick, and block; flush mounting; light to medium loads | Internal thread, removable machine bolt, Zamac body, economical |
| Double expansion anchor | Softer or irregular masonry; stronger grip in block | Two expansion segments distribute the load over a longer area |
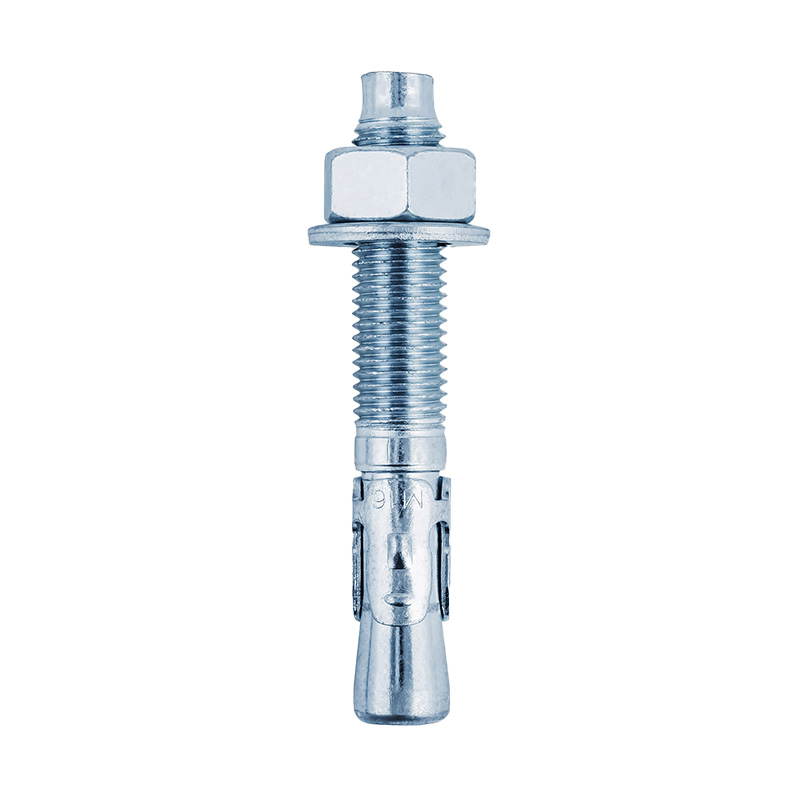
| Wedge anchor | Heavy structural loads in sound concrete | High grip, deep embedment, protrudes above the surface |
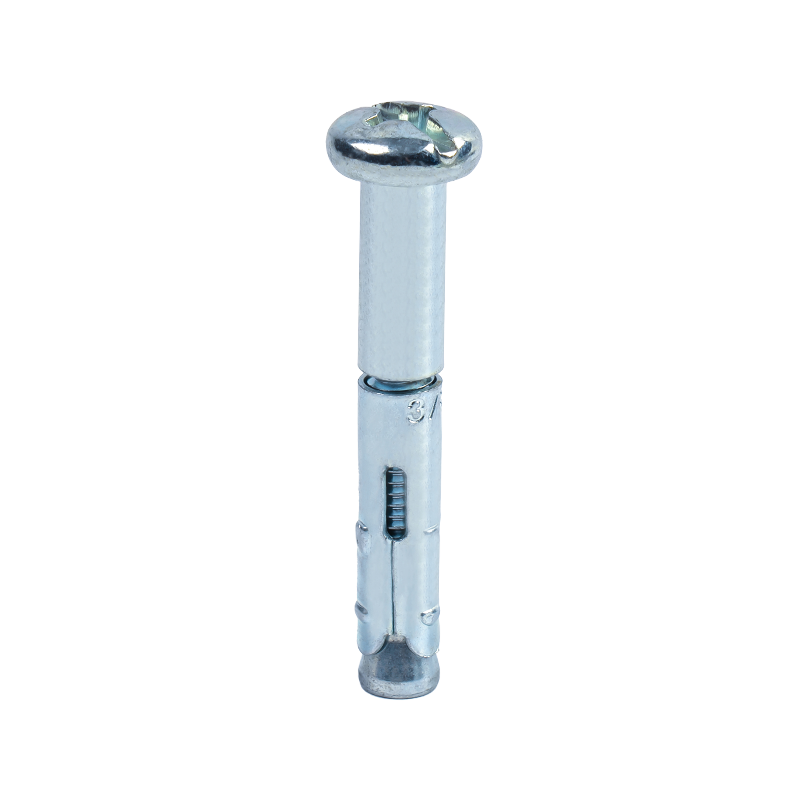
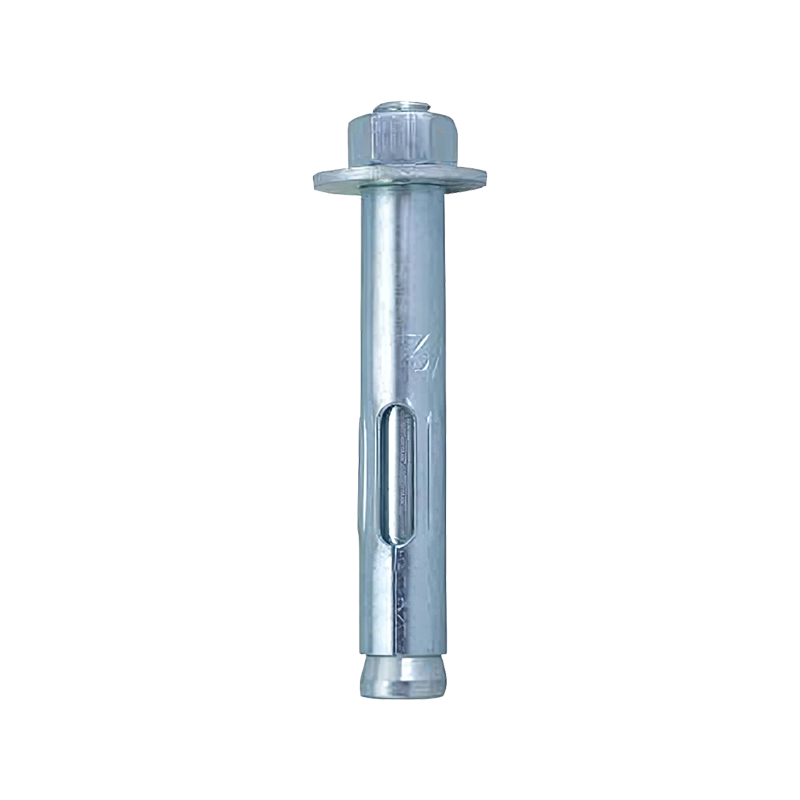
| Sleeve anchor | Brick and block; holes that are slightly oversized | Long sleeve expands along its length, forgiving to imperfect bores |
For flush mounting and medium loads on solid concrete, a single expansion anchor is the natural choice. The machine bolt can be unthreaded at any time, so fixtures can be removed for maintenance without new drilling. On softer masonry or questionable material, double expansion anchors grip over a longer distance and give more predictable results. For heavy structural connections, choose a wedge anchor with a higher working load; in brick or aging concrete that may contain voids, a sleeve anchor tolerates imperfect holes best. Price differences between these families are small relative to the cost of redoing a failed installation, so choose on technical suitability first.
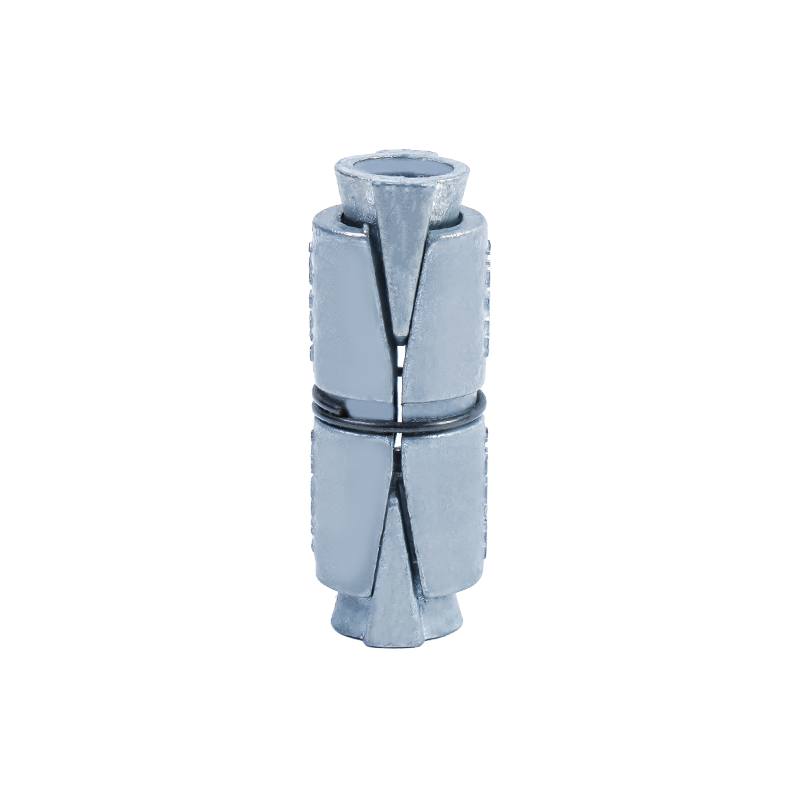 Wholesale Double Expansion Anchor Manufacturers, Custom Suppliers - Yuyao NanshaYuyao Nanshan Development Co., Ltd is China Custom Double Expansion Anchor Manufacturers and Wholesale Double Expansion Anchor Suppliers,...View Product →
If you are still unsure, describe the project to the manufacturer: base material, expected load, and whether the fixture will be removed regularly. Those three facts determine the right anchor more than any other input.
Final Thoughts
Correct installation is what allows an anchor to deliver its rated performance. Keep the sequence in mind: mark, drill with a sharp bit at the exact diameter, drill deep enough, clean the hole, seat the anchor flush, and tighten within the recommended range. Each step exists because the expansion mechanism depends on it. If you are buying in volume or need exact parameters, ask the manufacturer for the datasheet covering drill diameter, embedment depth, torque, spacing, and edge distance for the model you plan to use.


Contact Us