
 English
 中文简体
 русский
 Español
Drop-In Anchors Explained: Setting Tools, Sizes, Uses and Practical Selection Guide
2026-11-09Drop-In Anchors: Internally Threaded Expansion Fixings for Flush Concrete Connections
A drop-in anchor is a female-threaded expansion fixing designed for solid concrete. It sits flush or slightly below the surface, accepts a machine bolt or threaded rod from above, and leaves no external nut or protruding sleeve. That makes it useful where a clean face, removable fixture or tight clearance matters more than a through-bolt head.
The anchor body is a steel tube with an internal thread at the top, a split lower section and an expander plug seated at the bottom. The installer drives the plug upward with a matched setting tool. The plug forces the split section outward against the concrete wall, creating friction and mechanical interlock. The bolt does not create the expansion; it only fastens the fixture into the already expanded anchor.
This distinction matters in procurement. A drop-in anchor is not a wedge anchor with a different name. It is a pre-set internal thread. The hole size, setting tool, embedment and bolt engagement all have to be correct before the fixture is offered up. If any one of those elements is wrong, the anchor may feel tight while providing little reliable capacity.
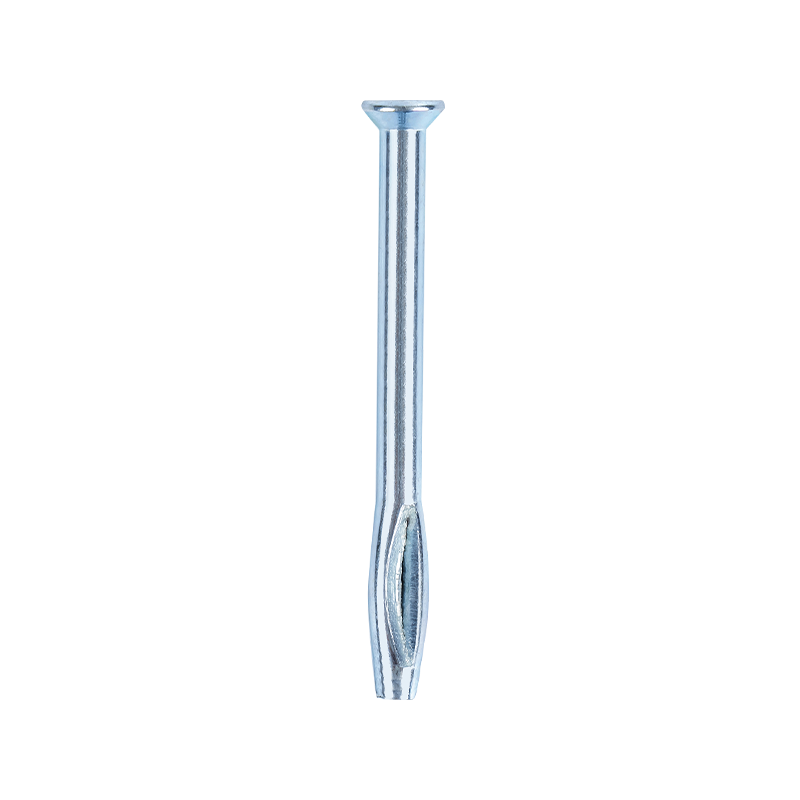
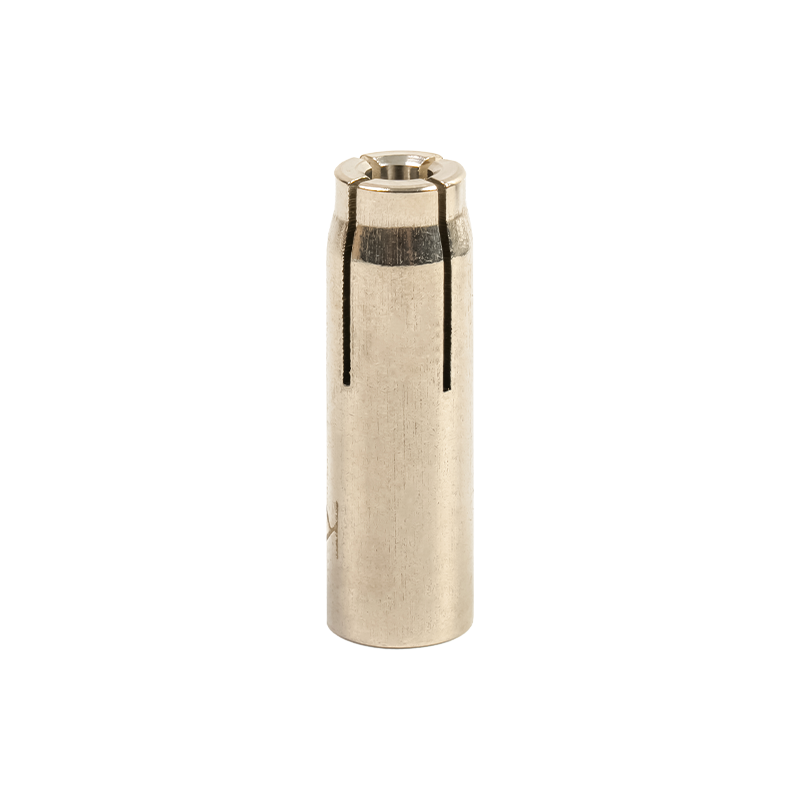 Internally Threaded Drop-In Anchors for Concrete and StoneInternally threaded expansion anchors suit pre-set concrete and stone fixings, with zero-drilling precast installation and removable bolt access for maintenance.View Product →
Typical drop-in anchors are used for handrails, pipe supports, cable trays, suspended services, formwork ties, machinery base plates, facade brackets and temporary lifting points. They are also common where a fixture must be removed and refitted without replacing the anchor. The internal thread remains in the concrete, so the same bolt can be taken out and returned as long as the thread and anchor body are protected.
How the Expansion Mechanism Works Inside the Hole
The anchor is inserted into a drilled hole until the collar sits at the surface. The setting tool passes through the internal thread and contacts the expander plug. A hammer blow, or a powered setting action, drives the plug down relative to the anchor body. Because the plug is wider than the split section, it forces the lower legs outward. The legs press against the concrete, and the anchor body shortens slightly as the plug travels.
Correct expansion depends on three conditions: the hole must be the specified diameter, the hole must be clean and deep enough, and the plug must be driven to the correct depth. A hole that is too large gives the legs nothing to press against. A hole that is too small prevents the anchor from seating or cracks the concrete during driving. Dust and debris at the bottom of the hole can stop the plug short, so the anchor never reaches full expansion.
What the installer should feel and see
- The anchor should slide into the hole without force but without rattle. A loose fit is a warning sign.
- The collar should sit flush with the concrete. If it stands proud, the hole may be shallow or blocked.
- The setting tool should contact the plug, not the thread. A tool that bottoms out on the thread can damage the internal thread without expanding the anchor.
- The final hammer blow should feel solid. A hollow or springy response often means the plug is not travelling correctly.
- The internal thread should remain clear after setting. Any deformed thread is a reject, not a minor issue.
On overhead work, the setting tool needs a retaining feature or a friction fit so it does not fall out during the blow. On horizontal walls, a short setting tool may be enough, but the installer still needs to keep the tool aligned with the anchor axis. Side loading during setting can bend the anchor body and reduce contact area.
Setting Tools: Match the Internal Thread, Not the Drill Bit
The most common buying mistake is to select a setting tool by drill diameter. The setting tool is matched to the anchor’s internal thread and plug geometry. A 3/8-inch drill hole does not automatically mean a 3/8-inch setting tool. The tool has a shoulder that stops against the anchor rim and a pin that drives the plug. If the shoulder diameter is wrong, the tool can pass too far into the anchor or fail to seat.
Manual setting tools are simple steel rods with a machined shoulder. They are inexpensive, easy to replace and suitable for low-volume work. Powered setting tools use a dedicated nose piece and are faster on repetitive overhead or slab work. Some systems use a setting tool that remains in the anchor until the fixture bolt is installed, which helps prevent thread contamination on site.
| Anchor thread | Setting tool reference point | Common site issue | Inspection check |
|---|---|---|---|
| 1/4"-20 | Tool pin fits internal thread; shoulder seats on collar | Tool too small passes through and misses plug | Plug visibly driven; thread clear |
| 3/8"-16 | Tool matched to 3/8 internal thread | Using a 1/2-inch tool because drill is 1/2 inch | Collar flush; no thread deformation |
| 1/2"-13 | Heavier tool with correct shoulder diameter | Under-driving because hammer energy is too low | Solid final blow; plug at set depth |
| 5/8"-11 | Tool matched to large plug and deep hole | Hole too shallow; tool bottoms out early | Hole depth recorded before setting |
| 3/4"-10 | High-energy setting tool or powered system | Anchor tilted during driving | Anchor axis perpendicular to surface |
Torque control belongs to the fixture bolt, not the setting tool. The setting tool expands the anchor; a torque wrench then tightens the bolt to the fixture. Over-torquing the bolt can pull the anchor upward or crush the concrete around the collar. Under-torquing leaves the fixture loose and can allow vibration to work the bolt out. The anchor catalogue should give a recommended tightening torque, and that value should be checked against the bolt grade and fixture material.
Size Selection: Thread, Outside Diameter, Hole Depth and Bolt Length
Drop-in anchor sizes are usually named by internal thread, but the outside diameter is larger. A 3/8-inch drop-in anchor does not use a 3/8-inch hole in every product family; it uses the hole diameter stated for that anchor body. The table below uses common trade values for orientation, not a substitute for the published catalogue. The safe approach is to build a small selection matrix from the manufacturer’s data and keep it with the setting tools.
| Nominal thread | Typical anchor outside diameter | Typical drill diameter | Minimum hole depth guide | Typical bolt engagement |
|---|---|---|---|---|
| 1/4"-20 | 3/8" | 3/8" | Anchor length plus 1/4" clearance | Full anchor thread plus fixture thickness |
| 3/8"-16 | 1/2" | 1/2" | Anchor length plus 1/4" clearance | Full anchor thread plus fixture thickness |
| 1/2"-13 | 5/8" | 5/8" | Anchor length plus 3/8" clearance | Full anchor thread plus fixture thickness |
| 5/8"-11 | 7/8" | 7/8" | Anchor length plus 3/8" clearance | Full anchor thread plus fixture thickness |
| 3/4"-10 | 1" | 1" | Anchor length plus 1/2" clearance | Full anchor thread plus fixture thickness |
| M6 | 8 mm | 8 mm | Anchor length plus 6 mm clearance | Full anchor thread plus fixture thickness |
| M8 | 10 mm | 10 mm | Anchor length plus 6 mm clearance | Full anchor thread plus fixture thickness |
| M10 | 12 mm | 12 mm | Anchor length plus 8 mm clearance | Full anchor thread plus fixture thickness |
| M12 | 16 mm | 16 mm | Anchor length plus 10 mm clearance | Full anchor thread plus fixture thickness |
| M16 | 20 mm | 20 mm | Anchor length plus 12 mm clearance | Full anchor thread plus fixture thickness |
Bolt length formula that prevents short engagement
A common field failure is a bolt that is too short. The bolt must pass through the fixture, engage the full internal thread and still leave the anchor plug undisturbed. In simple terms, bolt length equals fixture thickness plus the anchor thread engagement plus a washer allowance. If the bolt bottoms out on the plug before the fixture is tight, the installer may think the anchor is pulling, when in fact the bolt is jacking against the plug. That can loosen the expansion and damage the anchor.
For removable fixtures, use a bolt with enough thread to allow repeated assembly without crossing the first thread. For outdoor or wet locations, use a bolt material compatible with the anchor and the environment. A zinc-plated bolt in a stainless anchor can create a galvanic pair, and a stainless bolt in a zinc anchor can do the same in reverse. The fastener combination should be specified, not left to site stock.
Drop-In Anchor vs Wedge Anchor: Different Installation Logic
A wedge anchor is set by tightening a nut, which pulls a wedge up through a clip and expands the anchor while the fixture is in place. A drop-in anchor is set before the fixture is placed. That single difference drives most selection decisions. Drop-in anchors are better for flush faces, removable fixtures and overhead work where a protruding stud would be inconvenient. Wedge anchors are better for through-fixing where the anchor can be installed through the fixture and where a bolt head or nut is acceptable.
| Selection point | Drop-in anchor | Wedge anchor |
|---|---|---|
| Setting sequence | Set anchor first, then install fixture | Install through fixture, then tighten nut |
| Finished appearance | Flush internal thread; bolt head or stud can be removed | Exposed stud, nut and washer |
| Fixture removal | Simple; anchor stays in concrete | Possible, but stud remains exposed |
| Hole cleaning sensitivity | High; dust stops plug travel | High; dust reduces expansion |
| Best use | Flush brackets, rails, suspended services, removable equipment | Structural through-fixing, heavy frames, temporary and permanent connections |
| Common risk | Wrong setting tool or under-driven plug | Over-torque or insufficient embedment |
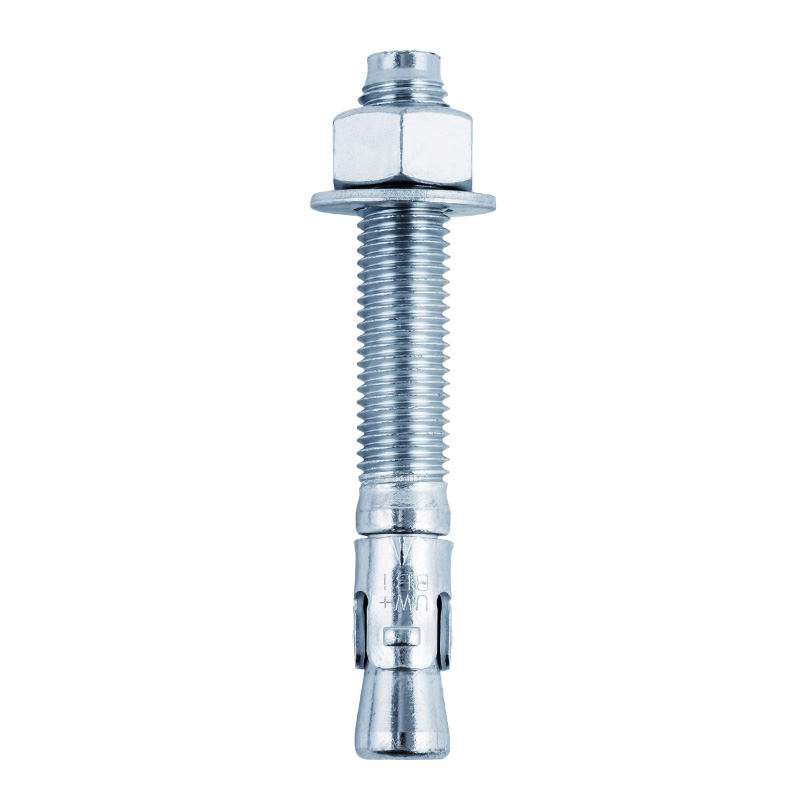
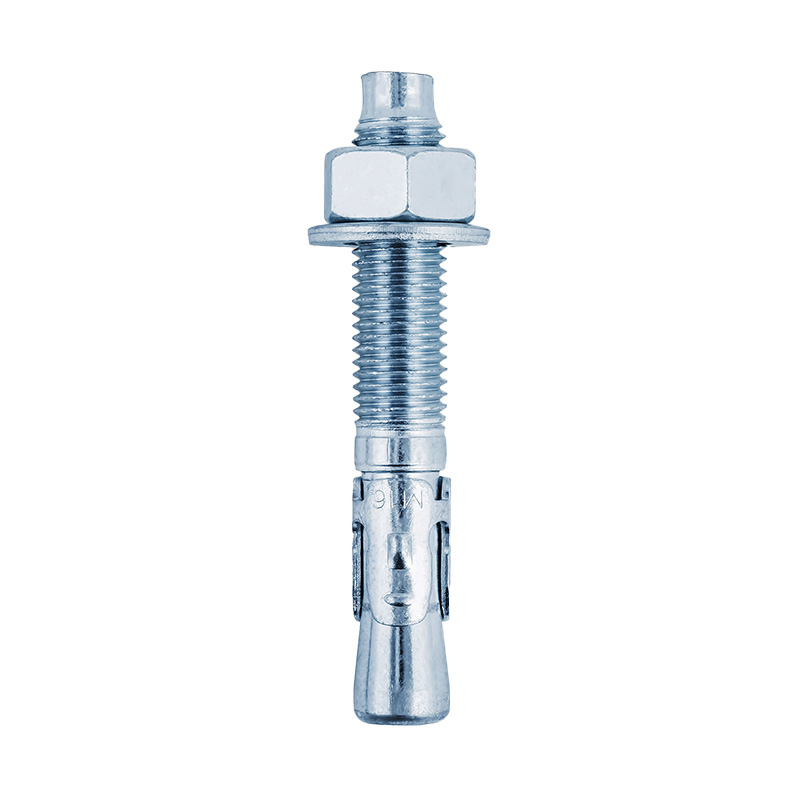
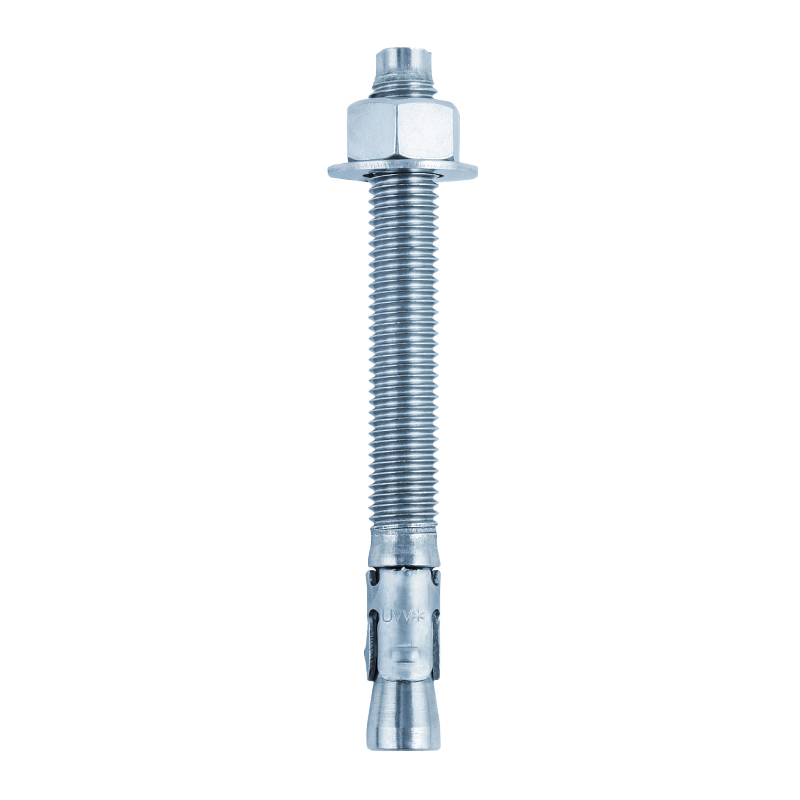 Heavy-Duty Ultra Wedge Anchors for Solid ConcreteHeavy-duty mechanical expansion anchors for solid concrete, designed to reduce spinning during installation and suited to through-fixed, high-preload connections.View Product →
Do not choose a drop-in anchor only because it looks neater. If the connection needs a high preload and the fixture is thick, a wedge anchor may be more direct. If the connection needs a clean surface and the fixture will be removed for maintenance, a drop-in anchor is usually the better fit. The decision should include concrete strength, edge distance, spacing, embedment, corrosion class and inspection access.
Substrate Rules: Solid Concrete First, Not Brick or Lightweight Block
Drop-in anchors are intended for solid concrete, and many product families are also used in solid masonry only when the block is filled and the manufacturer allows it. They are not a universal wall plug. In hollow brick, lightweight block, aerated concrete or drywall, the split legs may expand into a void and provide little capacity. In some cases, the anchor can crack the block face without developing any reliable load path.
| Substrate | Suitability | Reason | Alternative to consider |
|---|---|---|---|
| Normal-weight solid concrete | Typical intended use | Expansion legs bear against a continuous concrete wall | Drop-in anchor |
| Lightweight concrete | Conditional | Lower compressive strength and variable aggregate | Engineer-specified anchor with test data |
| Hollow block | Not typical | Expansion can occur in a void | Sleeve anchor or chemical anchor |
| Brick | Not typical | Low tensile strength and brittle failure | Masonry anchor or through-bolt |
| Aerated concrete | Not typical | Low density; expansion does not develop reliable grip | Specialty aerated concrete anchor |
| Wet or chemically exposed concrete | Conditional | Corrosion risk and possible freeze-thaw damage | Stainless anchor and compatible bolt |
Environmental conditions change the installation as much as the anchor choice. Water in the hole can prevent proper seating and can freeze behind the anchor. Dust and slurry reduce friction. High temperature can affect coatings and lubricants. Where the concrete is cracked or the application is seismic, a basic drop-in anchor may not be suitable without specific qualification. The environmental effects on drop-in anchor installation deserve a place in the method statement, not just the product data sheet.
Installation Checklist That Prevents Callbacks
Most drop-in anchor problems are installation problems, not manufacturing defects. A short checklist is more useful than a long catalogue if it is actually used at the hole. The sequence below is written for a typical manual setting tool and can be adapted for powered setting systems.
- Confirm the anchor thread, outside diameter and hole diameter against the approved submittal. Do not mix anchor families with setting tools from another family.
- Drill perpendicular to the concrete surface. A tilted hole moves the anchor axis and can concentrate load on one side of the collar.
- Drill to the required depth. Mark the drill bit or use a depth stop so every hole is consistent.
- Clean the hole with a brush and blow-out pump. Remove dust from the bottom and walls. Repeat if the hole is deep or the drill has produced slurry.
- Insert the anchor until the collar is flush. Do not force it. If it will not seat, remove it and check the hole depth and diameter.
- Insert the matched setting tool. Keep it aligned with the anchor axis.
- Drive the plug with controlled hammer blows until the tool shoulder contacts the anchor collar. Stop when the tool bottoms out; do not keep hammering.
- Remove the setting tool and inspect the internal thread. Check that the plug is driven and the collar is undamaged.
- Install the fixture bolt with the specified washer and tighten to the recommended torque. Do not use the bolt to pull the anchor into the hole.
- Record the installation if the project requires inspection. A simple hole number, anchor batch and setter initial can support traceability.
An installation walkthrough for drop-in anchors is useful for training, but it should be paired with a physical sample board. Installers learn the feel of a correctly driven plug faster when they can compare a good anchor with an under-driven one. The sample board also shows the difference between a clean hole and a dusty hole, which is often the root cause of loose anchors.
Common mistakes and their field symptoms
| Symptom | Likely cause | Corrective action |
|---|---|---|
| Anchor sits high above surface | Hole too shallow or debris at bottom | Redrill to depth and clean hole |
| Setting tool passes through | Wrong tool size or missing plug | Use matched tool and inspect anchor |
| Anchor spins after setting | Hole too large or concrete breakout | Do not reuse; relocate or use approved repair |
| Bolt bottoms out before fixture is tight | Bolt too long or plug not driven | Check bolt length and anchor set depth |
| Thread damaged after setting | Tool contacted thread or debris entered | Reject anchor; clean and protect thread |
Load Data: Tension, Shear and the Safety Factor Behind the Number
A catalogue load value is not a guarantee for every site. It is usually a tested or calculated capacity for a defined concrete strength, embedment, spacing and edge distance. The published value may already include a safety factor, or it may be an ultimate value that the designer must reduce. The buyer needs to know which one is being quoted. Mixing ultimate loads and allowable loads is a common source of over-specified or under-specified anchors.
Illustrative relative comparison only. Not a design value. Use published tension and shear data for the exact anchor, concrete strength and embedment.
Shear capacity and tension capacity are not interchangeable. A drop-in anchor loaded in shear may fail by concrete edge breakout, steel rupture or anchor pull-out. Edge distance and spacing control the concrete cone. Two anchors close together do not simply add their capacities; the stress fields overlap. For a bracket with four anchors, the design should consider the group effect, not four isolated values.
What to ask before accepting a load table
- What concrete compressive strength was used for the test or calculation?
- Is the quoted value ultimate, allowable or design resistance?
- What safety factor is included, and does it match the project method?
- What minimum edge distance and spacing apply?
- Was the anchor tested in cracked or uncracked concrete?
- Does the value include the steel strength of the anchor body and the bolt?
- Is the load short-term, long-term, seismic or fatigue?
For critical connections, a project-specific test is often more useful than a generic table. Pull tests on site can confirm installation quality and concrete variability. They do not replace design, but they catch under-driven anchors, dusty holes and wrong setting tools before the fixture is loaded.
Corrosion and Material Selection: Zinc-Plated, Stainless or Coated
Drop-in anchors are commonly supplied in zinc-plated carbon steel or stainless steel. Zinc plating is suitable for dry indoor service and some sheltered outdoor conditions, but it is not a marine finish. Stainless steel is used for wet, coastal, food processing, chemical and other corrosive environments. The bolt, washer and fixture material must be considered as a system. A stainless anchor with a zinc bolt can still corrode at the thread.
| Environment | Typical anchor material | Fastener consideration | Inspection focus |
|---|---|---|---|
| Dry interior concrete | Zinc-plated carbon steel | Zinc-plated or compatible bolt | Thread cleanliness and set depth |
| Sheltered outdoor | Zinc-plated or stainless | Coated bolt; avoid mixed metals | Coating damage and water trapping |
| Coastal or marine | Stainless steel | Stainless bolt of suitable grade | Chloride exposure and crevice corrosion |
| Wash-down or food processing | Stainless steel | Stainless bolt; sealed fixture interface | Hygiene, cleaning chemicals and thread condition |
| Chemical plant | Stainless or special coating | Compatible bolt and washer | Specific chemical resistance data |
Coating thickness and thread tolerance matter. A heavy coating can reduce the effective internal thread and make the bolt tight. A thin coating can be damaged during setting. Stainless steel is not immune to corrosion in chloride-rich or low-oxygen crevices, so grade selection still matters. The buyer should ask for the material grade, coating specification and any test report that supports the claimed corrosion class.
Buying Checklist for Distributors, Fabricators and Project Teams
Drop-in anchors are small, high-volume items, so a purchasing mistake can spread across many jobs before anyone notices. The following checklist is built around the points that most often cause returns, site delays or failed inspections.
Thread and tolerance
Check the internal thread with a go/no-go gauge. Confirm that the thread is cut or formed to the stated standard and that the bolt engages by hand before setting.
Setting tool supply
Ship the correct setting tool with the anchor. A buyer who receives anchors without tools may substitute a nearby rod and damage the thread or under-drive the plug.
Hole diameter consistency
Measure the outside diameter across a batch. Variation between production lots can change the fit in the drilled hole, especially on large diameters.
Batch traceability
Keep heat number, coating lot and production date on the label. If a site issue appears, traceability narrows the investigation quickly.
Packaging protection
Internal threads are easily damaged in bulk cartons. Use a pack that prevents anchors from rubbing against each other and keep moisture out.
Documentation
Provide dimensional drawings, material certificates and installation instructions in the project language. Do not rely on a generic label alone.
For a fabricator, the most useful purchasing decision may be a kit: anchor, matched setting tool, drill bit and a small inspection gauge. A kit reduces the chance that a worker uses the wrong tool because the correct one is in another box. For a distributor, the key is to separate anchor families visibly. Drop-in anchors, wedge anchors and sleeve anchors can look similar at a glance, but their setting methods and hole sizes are different.
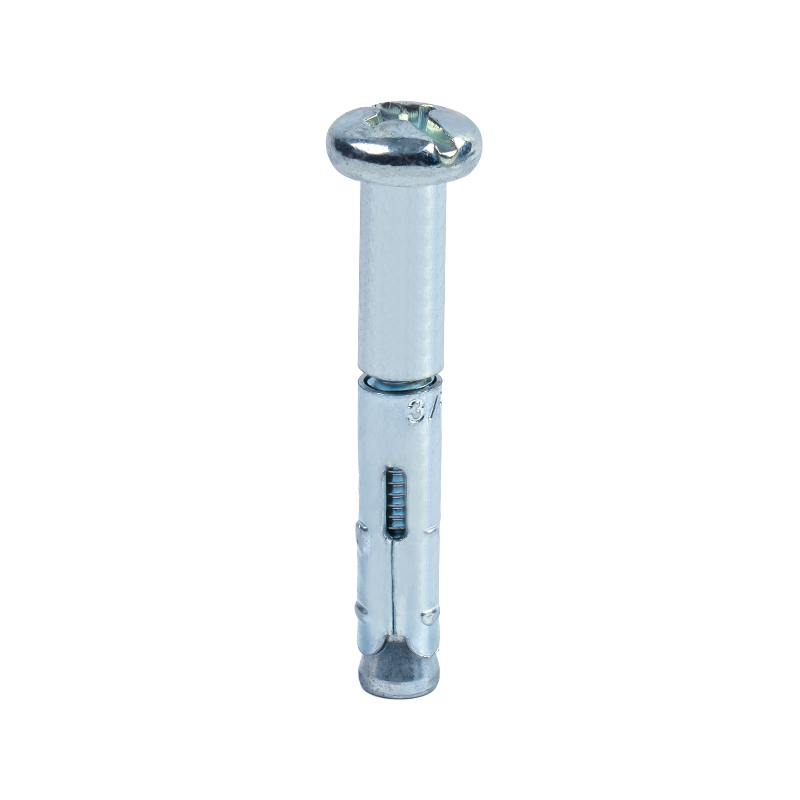
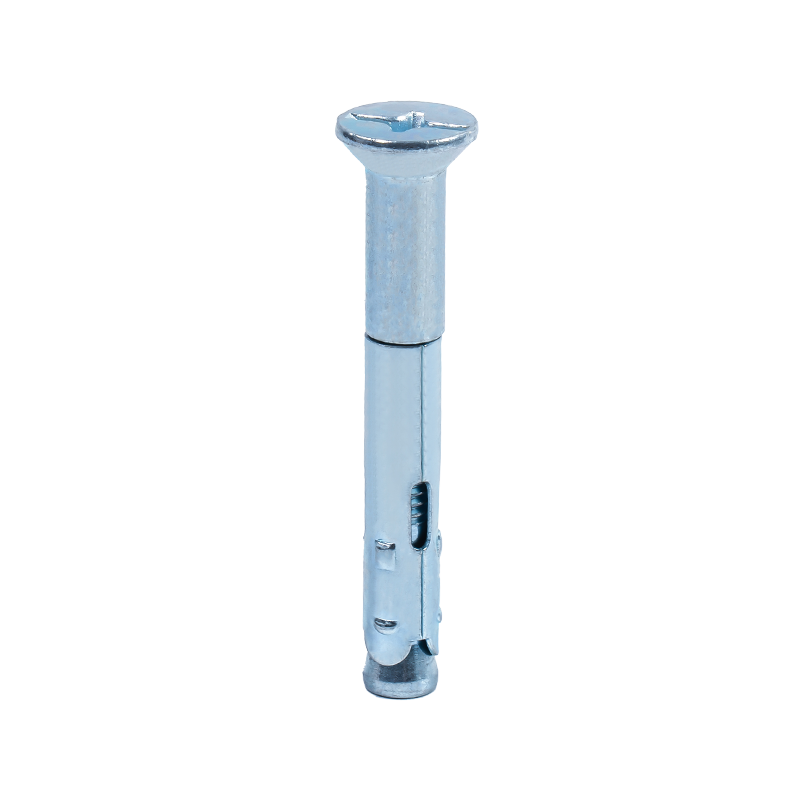
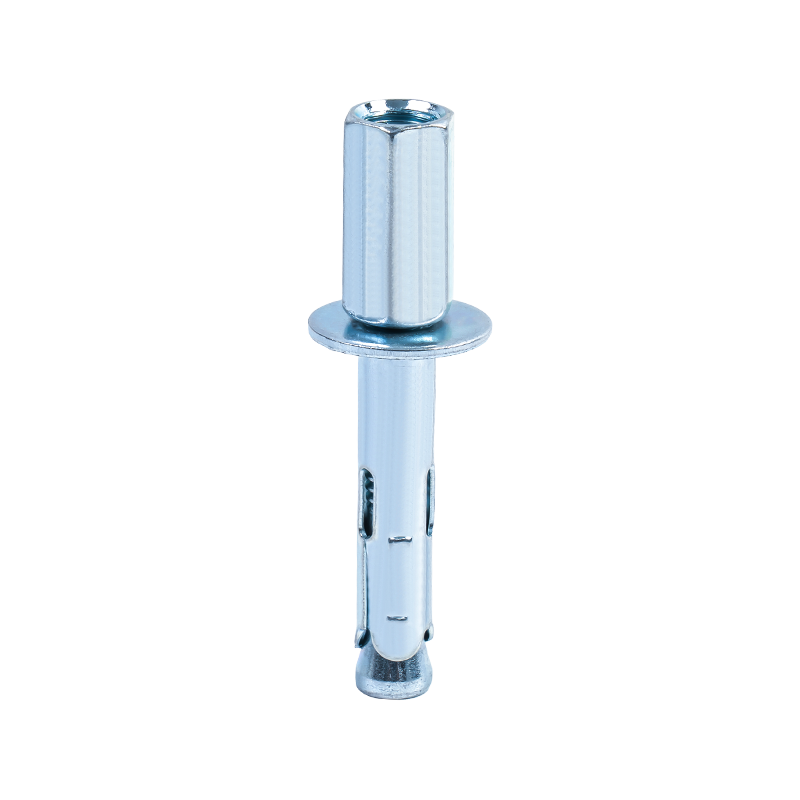
 Machine Screw Anchors for Light-Duty Removable FixingsLight-duty anchors for concrete, stone and brick with removable, reusable fixing, multiple head and finish options, and lower capacity than structural anchors.View Product →
Related Anchors and Where They Fit in the Same Concrete Fixing Plan
Drop-in anchors rarely exist alone on a project. A typical fixing plan may use drop-in anchors for removable fixtures, wedge anchors for structural frames and machine screw anchors for lighter equipment. Understanding the adjacent product families helps prevent the wrong anchor being pulled from the wrong bin.
Machine screw anchors
A machine screw anchor is also internally threaded, but it is usually a smaller, light-duty concrete screw or expansion type. It is often used for electrical boxes, conduit clips, signage and light brackets. It is not a substitute for a heavy drop-in anchor when the fixture is structural or the bolt diameter is large.
Wedge anchors
Wedge anchors are through-fixings with a stud, nut and washer. They are strong and direct, but they leave a protruding stud. They suit structural frames, machine bases and applications where the fixture can be installed over the stud and tightened down.
Sleeve anchors
Sleeve anchors expand a full-length sleeve against the concrete. They are useful in softer masonry and some concrete applications where a longer contact area is helpful. They are not automatically interchangeable with drop-in anchors, because their hole size and setting method differ.
For a project with mixed fixture types, create a fixing schedule that lists anchor family, thread, hole diameter, setting tool, bolt length and torque. That schedule is more valuable than a catalogue page because it connects the product to the actual fixture. It also gives the inspector a clear reference point.
FAQ: Drop-In Anchor Selection and Site Questions
Can a drop-in anchor be installed in a wall instead of a ceiling?
Yes, drop-in anchors can be installed in horizontal, vertical and overhead concrete surfaces. The setting tool and access method change, but the expansion principle is the same. Overhead work needs a tool that will not fall out and extra care to keep dust out of the thread.
Does the bolt expand the anchor?
No. The setting tool drives the expander plug and expands the anchor before the fixture is installed. The bolt only fastens the fixture into the internal thread. Using the bolt to pull the anchor into the hole can damage the anchor and leave the plug under-driven.
What happens if the hole is too deep?
A slightly deeper hole is usually less harmful than a shallow hole, provided the anchor still seats at the surface and the plug is driven correctly. The anchor body, not the hole bottom, controls the set depth. However, an excessively deep hole can make cleaning harder and may allow the anchor to sit low. Follow the specified depth range.
Can I use a drop-in anchor in a cracked concrete slab?
Not automatically. Cracked concrete reduces the confinement that the expansion legs rely on. Some anchors are qualified for cracked concrete, but that qualification must be stated in the product data. If the slab is cracked, the design should be reviewed rather than assuming a standard drop-in anchor will perform as in uncracked concrete.
Why does the setting tool matter so much?
The setting tool transfers the hammer energy to the plug and stops at the correct depth. If the tool is too small, it may pass through the anchor and miss the plug. If the shoulder is wrong, it may damage the thread. A matched tool is part of the anchor system, not an optional accessory.
Can a drop-in anchor be removed and reused?
The bolt can be removed and refitted, but the anchor itself is intended to remain in the concrete. Removing a set anchor usually damages the hole and the anchor. If a fixture must be relocated, install a new anchor in a new location rather than trying to reset the old one.
What is the difference between a drop-in anchor and a machine screw anchor?
Both can accept a machine screw, but they are different products. A drop-in anchor is a concrete expansion anchor with an expander plug and a matched setting tool. A machine screw anchor is often a lighter internal-thread fixing with a different body and setting method. Check the load data and intended substrate before substituting one for the other.
How do I inspect a drop-in anchor after setting?
Check that the collar is flush, the plug is driven and the internal thread is clear. Try the specified bolt by hand; it should engage without force. If the anchor spins, the thread is deformed or the collar is damaged, reject it and follow the approved repair procedure.
What torque should be used on the fixture bolt?
Use the torque stated for the anchor and bolt combination. Do not use a generic torque chart without checking the anchor data. Over-torque can pull the anchor or crush the concrete at the collar; under-torque can leave the fixture loose and allow vibration loosening.


Contact Us