
 English
 中文简体
中文简体 русский
 Español
Drop-In Anchor vs Wedge Anchor: How to Choose the Right Concrete Fastener
2026-10-05A concrete hole with the wrong bolt in it is not an anchor problem. A base plate still hanging in the air above a foundation is not an anchor problem either. Yet both situations end up in the same search box, because on site they look like the same question: drop-in anchor or wedge anchor? Split that question into "how does the anchor get installed" and "what gets installed over it," and most of the confusion disappears before you ever reach a load table.
Here is the short version. A drop-in anchor gives you a flush, internally threaded hole in the concrete. You choose the bolt later. A wedge anchor is a threaded rod that stays permanently embedded in the concrete, and the part you are fixing has to slip over it and be clamped down with a nut.
The two products share more than most people assume. Both are mechanical expansion anchors. Both rely on sound, solid concrete. Both grip by pushing metal outward against the drilled hole wall, and both lose a large share of their rated capacity if the hole is drilled oversized or left full of dust. Neither is suitable for hollow block, thin panels, or drywall, and neither should be treated as a substitute for a properly engineered adhesive anchor in cracked or questionable concrete.
What genuinely separates them is sequencing. One anchor type lets you finish the concrete, walk away, and decide later. The other one demands that the anchor and the fixture arrive at the same moment. Everything else — capacity, cost, corrosion, removal — follows from that single structural difference.
How a Drop-In Anchor Grips Concrete
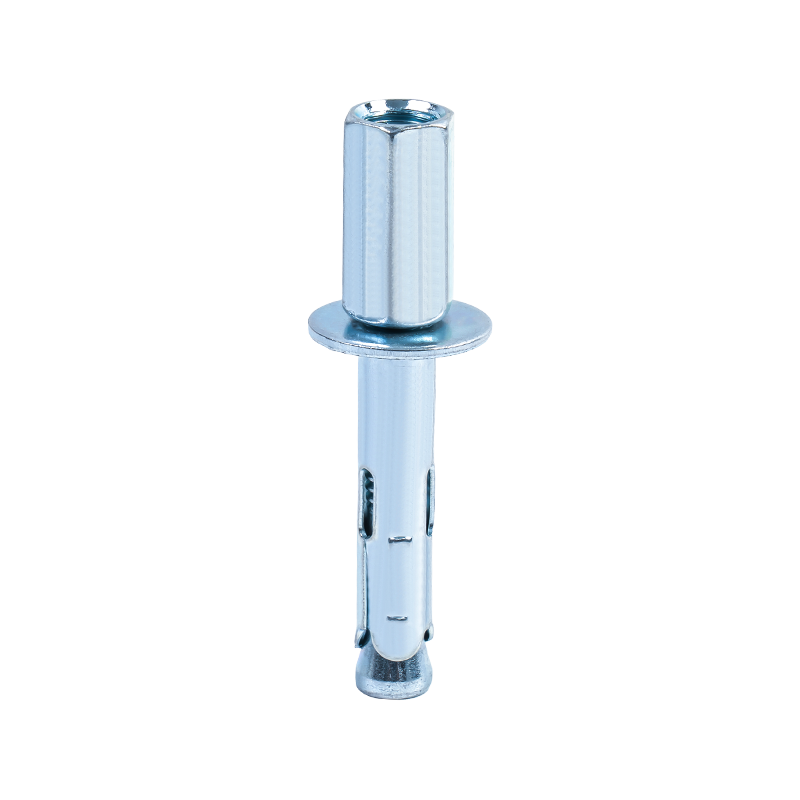
A drop-in anchor, also called an internally threaded expansion anchor, a female anchor, or a hammer-set anchor, is a short steel cylinder. The outside diameter matches the drilled hole. The inside is threaded. At the blind end of the sleeve sits a tapered expansion plug.
Installation takes two motions. You drive the sleeve into the hole until its top sits flush with the concrete surface. Then you switch to a purpose-made setting tool and strike the expansion plug hard. As the plug is driven down, it splits the bottom of the sleeve and forces the sleeve walls outward against the hole. The lock is metal against concrete, created by friction and radial pressure. The thread itself never moves. The bolt you install later simply transfers load into the sleeve.
Three practical consequences of that geometry
- Flush finish. Nothing protrudes above the hole. This is why drop-in anchors end up in finished slabs, in ceilings, and in any location where a bolt head sticking up would obstruct traffic, damage equipment, or fail a surface tolerance check.
- The bolt comes out. Equipment skids, guard rails, pipe supports, and machine bases can be unbolted, shifted, or replaced without disturbing the concrete. The threaded insert stays where it is.
- Two diameters matter, not one. The drill bit matches the sleeve, not the bolt. A 1/2 inch bolt needs a 5/8 inch drop-in anchor and a 5/8 inch hole.
Standard sizes run from about 1/4 inch up to 3/4 inch in imperial series, with metric equivalents covering roughly M6 through M16. Common materials are zinc-plated carbon steel and A2 or A4 stainless steel. The right choice depends on whether the installation is indoors, outdoors, coastal, or exposed to wash-down chemicals.
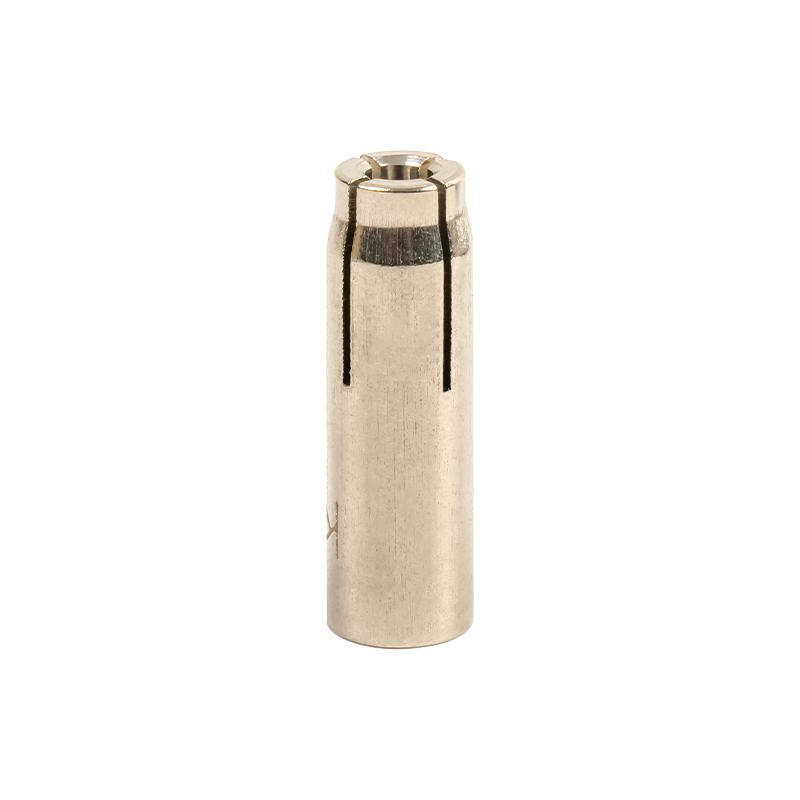 Drop-In AnchorPRODUCT INFORMATION: Force of the gecko's strong general for solid media products, such as concrete, stone, and so on. Among them, the short Force of the gecko or dept...View Product →
The setting tool is where most installations fail
The setting punch is the cheapest component in the system and the most frequently skipped. Each drop-in anchor diameter has a matching punch. Use the wrong size, or improvise with a flat-nosed punch and a couple of light taps, and the expansion plug never seats fully. The sleeve stays partly collapsed. That anchor may hold a light static load and pass a casual visual inspection, but it will not develop anything close to its rated tension capacity.
A correctly set drop-in anchor sounds different. The punch bottoms out with a change in tone rather than a hollow ring, and it does not bounce back. If the punch springs off the plug, the plug is not seated.
How a Wedge Anchor Works Under Load
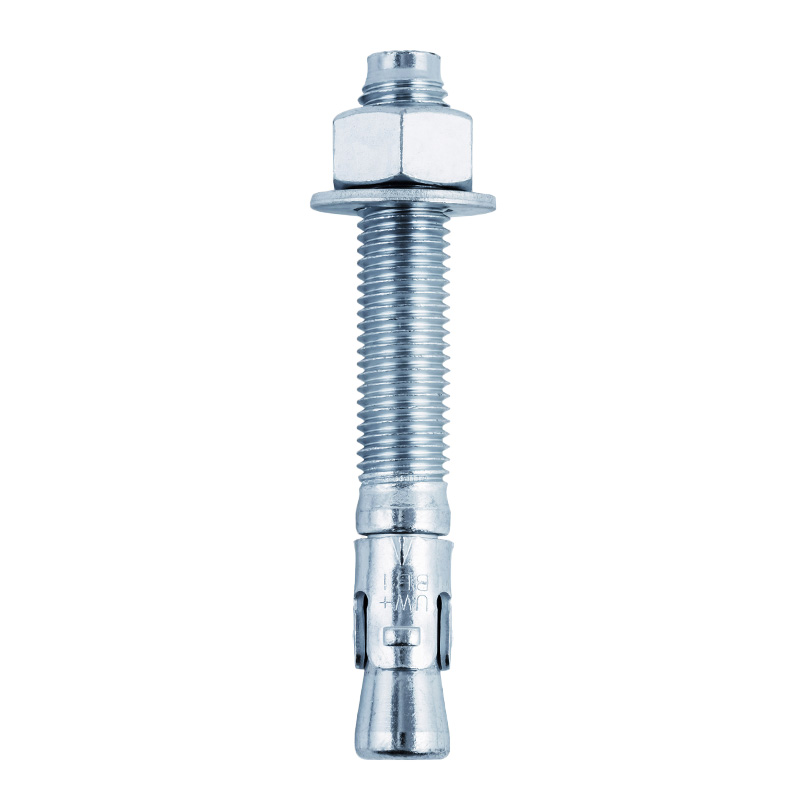
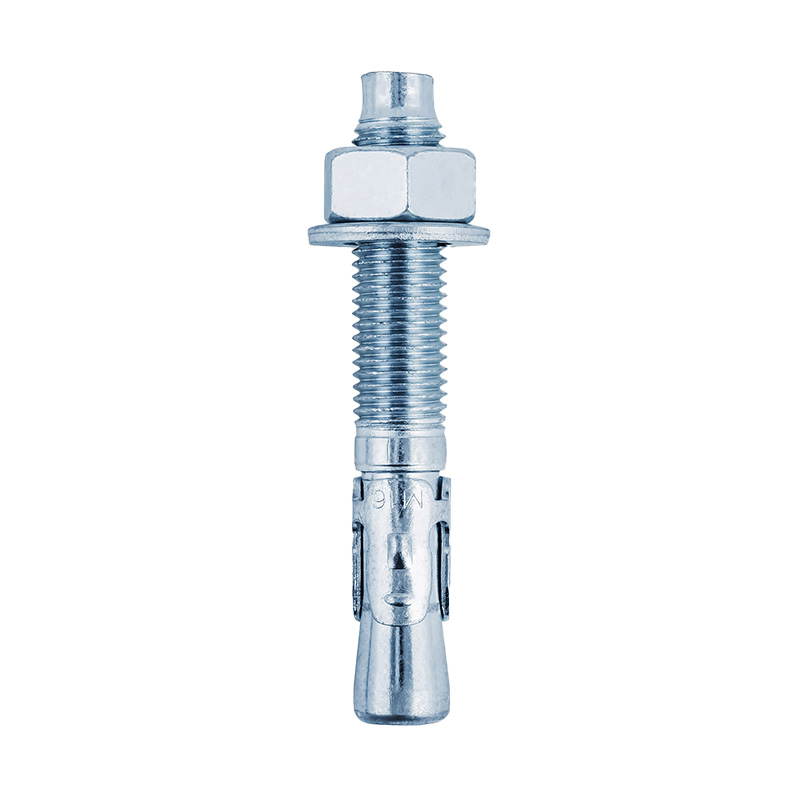
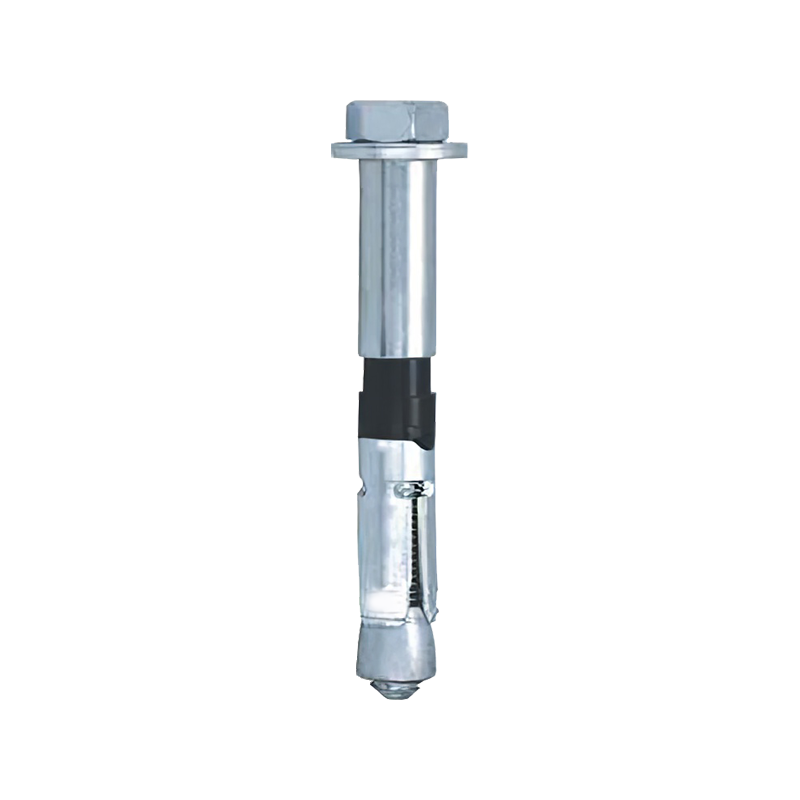
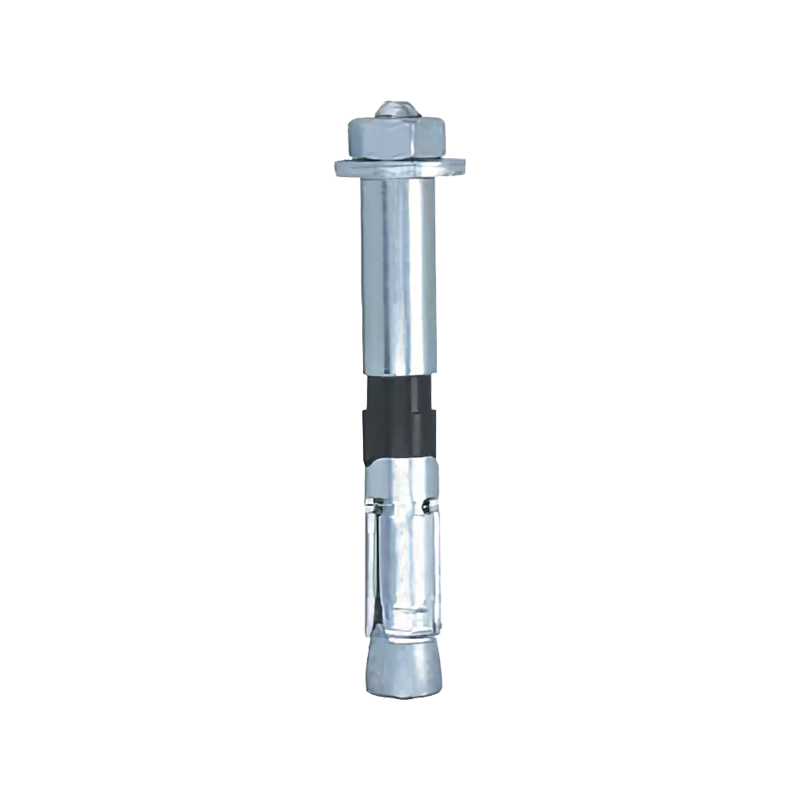
A wedge anchor is a full-length threaded stud with a clip assembly and a tapered wedge at the embedded end. The anchor is placed into the drilled hole, and as the nut is turned, the wedge is drawn into the clip. The clip expands outward and bites into the concrete along the full depth of the expansion zone.
The essential difference from a drop-in anchor is that the fastener and the anchor are one piece. Nothing is hidden and nothing is added later. The nut spins on the exposed thread, presses a washer against the fixture, and simultaneously drives the expansion mechanism below. Tightening the fixture and setting the anchor are the same operation.
Through-fixing and what it forces you to accept
- The fixture needs clearance holes. The anchors pass through the part being fixed, which means the part acts as a drilling template. Hole positions are set by the steel, not by the concrete.
- The anchor is permanent. Once set, a wedge anchor cannot be removed without cutting it or breaking out the concrete around it. To remove the fixture, you take off the nut. The stud stays behind as a projection.
- Torque does double duty. The same wrench load that creates expansion also creates clamp-up on the fixture. Under-torquing leaves the anchor unset. Over-torquing can strip the thread or crack the concrete around the hole.
Drill bit diameter equals anchor diameter here, which surprises people who work with both families of anchors. A 1/2 inch wedge anchor uses a 1/2 inch bit. A 1/2 inch drop-in anchor uses a 5/8 inch bit. Mixing these up on a site with both products in the same crate is a common and expensive mistake.
Diameters normally start at 1/4 inch and run past 1-1/4 inch in imperial series, while metric ranges extend from M6 upward through M20 and beyond for heavy civil work. Bridge barriers, tunnel services, rail catenary bases, wharf fenders, and nuclear-adjacent structures generally sit at the larger end of that range.
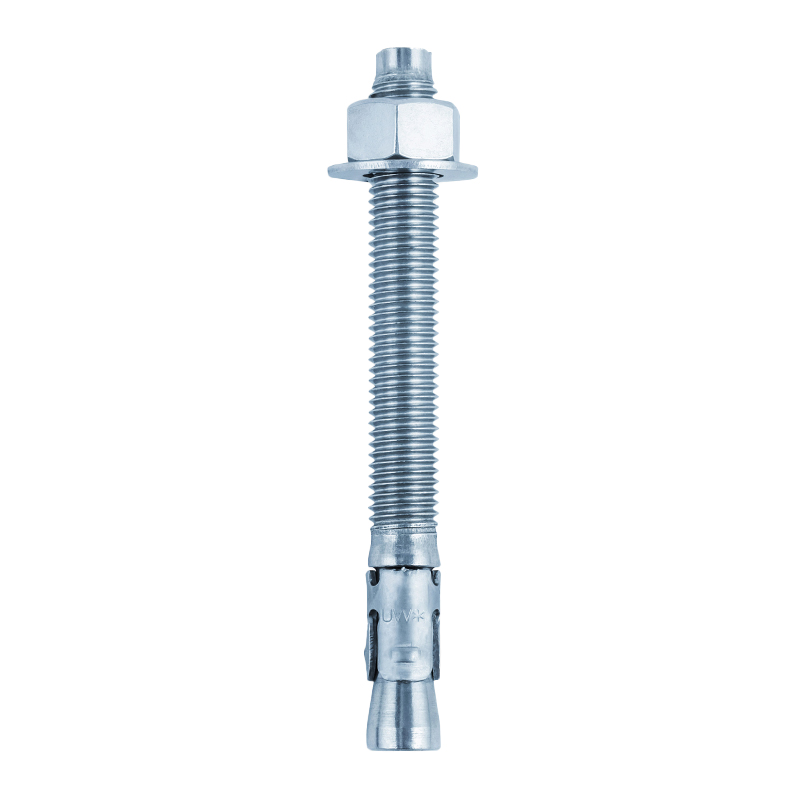 Ultra Wedge AnchorPRODUCT INFORMATION: Ultra wedge anchor is used for high-strength fastening to pull out the value of local equipment, anchors, and holes the same diameter. The advance...View Product →
Drop-In Anchor vs Wedge Anchor: Side-by-Side Comparison
Both products below are assumed to be installed correctly into sound, uncracked concrete of normal structural strength, using the specified drill bit and the specified setting method. Change any one of those assumptions and the comparison shifts.
| Feature | Drop-in anchor | Wedge anchor |
|---|---|---|
| Body form | Short internally threaded sleeve with a tapered expansion plug | Full-length threaded stud with an expansion clip and wedge |
| Installation sequence | Set the sleeve now, install the bolt whenever the fixture arrives | Fixture must be present when the anchor is set, since the anchor passes through it |
| Finished appearance | Flush or slightly below the concrete surface | Stud, nut and washer project above the surface |
| Fastener supply | Bolt sourced separately by the user | Threaded stud is part of the anchor |
| Required drill bit | One size larger than the bolt (5/8 inch bit for a 1/2 inch bolt) | Same size as the anchor (1/2 inch bit for a 1/2 inch anchor) |
| Removability | Bolt can be unscrewed and reinstalled repeatedly | Anchor remains permanently in the concrete |
| Typical size range | 1/4 inch to 3/4 inch; M6 to M16 | 1/4 inch to 1-1/4 inch; M6 to M20 and above |
| Installation tooling | Hammer plus a diameter-specific setting punch | Hammer plus torque wrench or calibrated impact driver |
| Primary failure mode if installed correctly | Bolt yields; sleeve remains anchored | Concrete cone pull-out, anchor pull-out, or stud fracture |
| Typical applications | Overhead supports, railings, pipe hangers, equipment on finished slabs | Column base plates, curtain wall brackets, bridge barriers, heavy structural steel |
The Installation Order Is the Real Decision Point
Strip away the technical vocabulary and the choice usually resolves itself in the first two minutes of planning, because one anchor type asks the concrete to wait and the other asks the fixture to arrive on time. The cards below cover the situations that come up most often on real projects.
Concrete is already poured and finished
The slab is complete, the surface is level, and a piece of equipment needs to land on it. Drop-in anchors are the natural fit because they can be set at any point afterwards without disturbing the finished surface.
Steel arrives while the foundation is open
Anchor positions are already fixed by the fabricated base plate. Wedge anchors go straight through the plate holes and are torqued down, using the steel itself as the template.
Nothing may protrude after installation
Forklift traffic, cable trays, sliding doors, and drainage paths all fail when a stud sticks up. Drop-in anchors keep the surface clear until a bolt is actually needed.
Maximum tension capacity from a given diameter
A continuous threaded stud anchored deep into concrete generally develops more tension resistance at the same diameter than a short sleeve with a separately supplied bolt.
The fixture will move later
Relocated machinery, revised racking layouts, and temporary works all point toward drop-in anchors, because the insert is reusable and the bolt is replaceable.
Hole positions are dictated by predrilled steel
When the plate is already drilled, the anchor has to follow the steel. Wedge anchors accommodate reasonable tolerance between plate holes and concrete holes far better than a flanged insert.
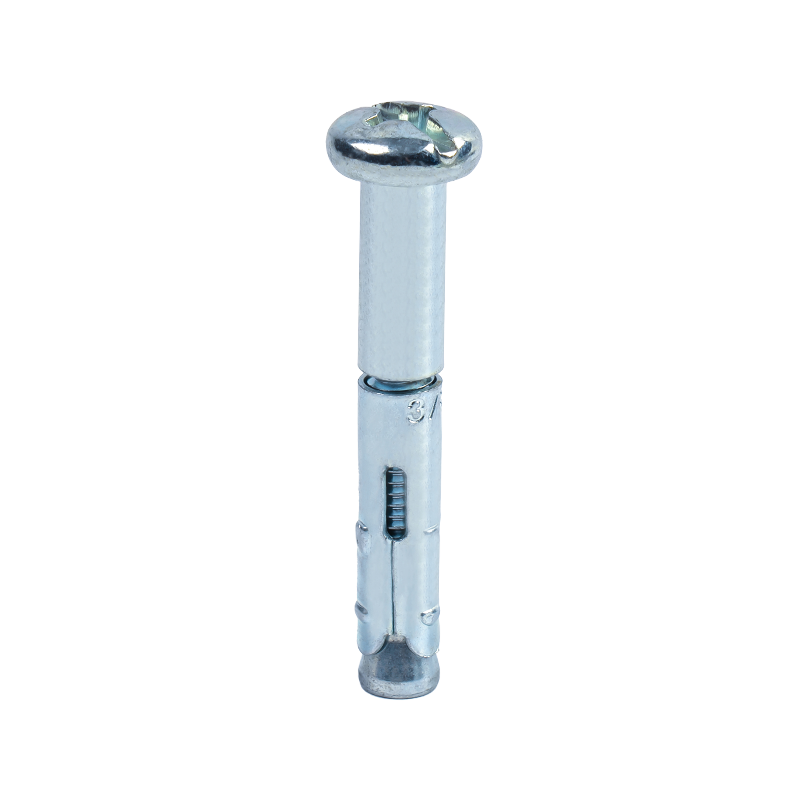
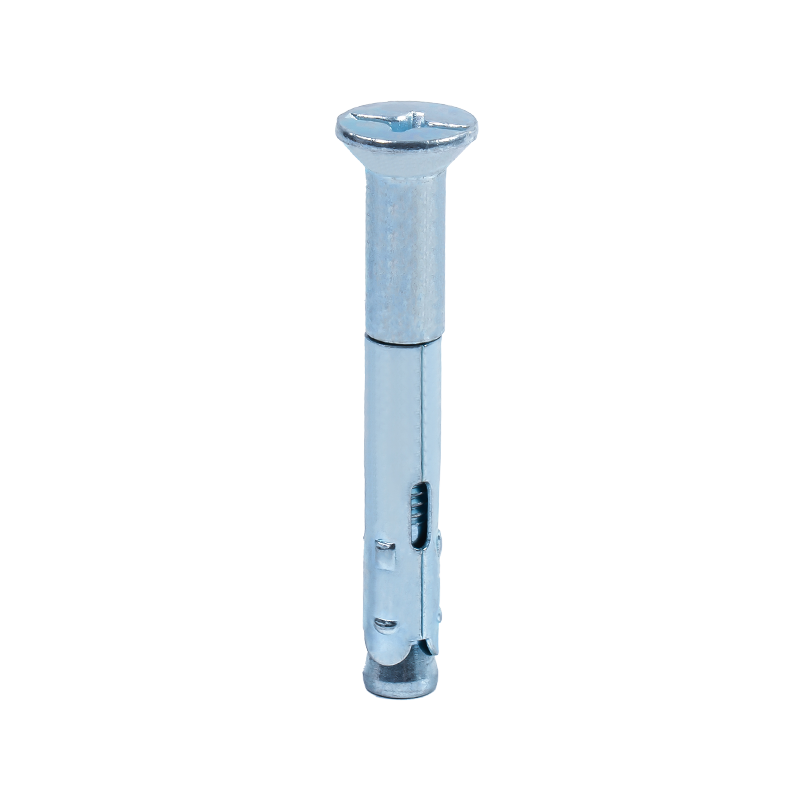
There is one hybrid situation worth flagging. If you need a flush finish but the loads are large and the fixture is already on site, a heavy-duty sleeve anchor or a shielded expansion anchor may sit between the two options. Those products solve a different problem and are worth reviewing separately rather than forcing a drop-in or wedge anchor into a duty it was not designed for.
Tension, Shear, Preload and What Actually Changes the Result
Load path is where the two anchors diverge most sharply, and it is also the part most often reduced to a single sentence in product brochures. A drop-in anchor transfers the tension load from the bolt thread, through the sleeve, into friction and bearing against the hole wall. A wedge anchor transfers the same load from the stud, through the clip, into a similar bearing zone — but because the stud is continuous, there is no threaded interface inside the hole where the load can be lost.
Preload behaves differently too. With a drop-in anchor, the clamp-up on the fixture is generated entirely by the bolt you choose and the torque you apply. The insert itself contributes almost nothing to preload; it just resists being pulled out. With a wedge anchor, the anchor's own expansion and the fixture clamp-up are produced by the same torque application, so preload and setting force are inseparable.
Neither product is immune to vibration. Dynamic machinery, monorail structures, and rail-mounted equipment can cause any mechanical expansion anchor to lose preload over time, which is why periodic re-torquing checks belong in the maintenance schedule regardless of which anchor type was specified.
Directional comparison only — these bars are illustrative, not load values
Spacing between anchors and distance from the hole to the nearest free edge control whether an anchor pulls out or breaks the concrete face away with it. Both anchor families are sensitive to these values, but the failure looks different: a drop-in anchor usually slides or strips, while a wedge anchor can bring a cone of concrete with it. The mechanics behind those edge failures are worth reading in more detail before you set a pattern, especially for how spacing and edge distance change a wedge anchor's failure mode.
One practical note on shear. When a fixture is loaded sideways, the anchor is loaded in shear rather than tension, and the governing factor becomes the distance from the anchor body to the edge of the concrete in the direction of the load. Because a wedge anchor presents a continuous stud, it often handles shear reversals more predictably than a threaded insert with a bolted connection above it.
Material, Coating and Corrosion Choices
Both anchor families are available in several material grades, and specifying the wrong one is a slow-motion failure that shows up two or three years after handover rather than at commissioning.
Zinc-plated carbon steel covers the majority of indoor and sheltered applications. It resists atmospheric moisture adequately and keeps cost predictable. Hot-dip galvanizing adds a substantially thicker zinc layer and is the usual choice for exterior structures, road furniture, and any installation exposed to repeated wetting and drying.
Stainless steel in A2 grade handles general external exposure and many industrial environments. A4 grade, which is more resistant to chlorides, belongs in coastal work, desalination plants, swimming pool halls, food processing areas, and anywhere de-icing salts are used. A harbour fender or a bridge barrier near the sea is not the place to save money on coating.
- Indoor, dry, temperature controlled: zinc-plated carbon steel is normally adequate.
- Outdoor, sheltered from direct spray: hot-dip galvanized or A2 stainless.
- Coastal, marine, chloride exposure: A4 stainless as a minimum.
- Chemical plants and wash-down areas: confirm compatibility with the specific chemical before specifying.
Dissimilar metal contact matters as well. A stainless anchor threaded into galvanized steel, or the reverse, can create galvanic corrosion in the presence of moisture. Insulating washers and correct material pairing are cheap insurance.
Hole Preparation, Setting Tools and Torque
Roughly the same discipline applies to both anchors up to the point of setting, then the paths diverge. A clean, correctly sized, correctly drilled hole is the single largest determinant of performance for either product.
- Drill perpendicular to the surface with a hammer drill in rotary hammer mode, using a bit matched to the anchor. Check the bit diameter before starting; worn bits drill oversized holes.
- Drill to the specified depth. For a wedge anchor, add the fixture thickness to the embedment depth so the anchor does not bottom out before the nut engages. For a drop-in anchor, the hole depth must let the sleeve sit flush.
- Clean the hole. Blow out with compressed air, brush with a nylon or steel hole brush, and blow again. Repeat the cycle. Dust left in the hole acts as a cushion and reduces friction at the exact interface that carries the load.
- Insert the anchor. Drive the drop-in sleeve or the wedge anchor into the hole with a hammer until it reaches its correct position.
- Set the anchor. For a drop-in, use the matching setting punch and drive the expansion plug home with firm strikes. For a wedge anchor, tighten the nut to the specified torque, which draws the wedge into the expansion clip.
- Verify. Check for any movement of the fixture, confirm the nut has not bottomed out on the unthreaded shank, and record the torque value if the specification requires it.
Torque discipline for wedge anchors
Wedge anchors are torque-controlled devices. The published installation torque is the value that produces correct expansion without crushing the concrete around the clip. An impact wrench run until the nut stops turning is not the same thing, and it is one of the most common causes of concrete spalling around the hole. Use a calibrated torque wrench, or a torque-limited impact driver set to the specified value.
Where Each Anchor Fits in Infrastructure and Industry
Anchor selection in heavy construction rarely comes down to personal preference. The structure type, the access constraints, and the sequence of trades essentially make the decision for you.
- Steel-frame high-rise construction: column base plates and bracing connections typically use wedge anchors set through the plate, because the steel is positioned before the anchor is torqued.
- Tunnel linings and services: both families appear, with drop-in anchors common for cable trays, lighting supports, and ventilation brackets where a flush face matters.
- Bridges and barriers: heavy wedge anchors dominate, particularly where barrier rails and expansion joint hardware are fixed through pre-drilled steel.
- Railway infrastructure: catenary bases, signal gantries, and platform furniture use large-diameter wedge anchors for their predictable tension behaviour under cyclic loading.
- Airport terminals and stations: drop-in anchors suit suspended ceilings, signage gantries, and service routing in finished public areas.
- Highways and road furniture: hot-dip galvanized wedge anchors are standard in exterior kerb, gantry, and lighting installations.
- Ports and harbours: A4 stainless wedge anchors and shielded anchors handle fender systems, bollards, and marine furniture where chloride exposure is continuous.
- Energy and nuclear-adjacent structures: the largest diameter anchors, with full documentation of material traceability and installation records.
The common thread is that fastening order, not anchor strength, decides the family. Where the structure is prefabricated and arrives with holes already in it, wedge anchors follow. Where the concrete is finished and the fixture is designed on site, drop-in anchors follow.
For manufacturers and fabricators producing anchors for these sectors, the practical requirement is usually the same: consistent dimensional tolerances on the sleeve or clip, controlled thread quality, and repeatable expansion behaviour from batch to batch. A few thousandths of an inch of variation in clip geometry changes how much the anchor expands at a given torque.
Cost, Stock and Procurement Reality
Purchase price is a poor guide on its own. A drop-in anchor is usually cheaper per piece than a wedge anchor of comparable diameter, but the bolt, nut and washer are bought separately, so the delivered cost per fixed point is often closer than the catalogue suggests.
Stock keeping is where drop-in anchors quietly win. One sleeve size accepts a range of bolt lengths, so a distributor can hold fewer SKUs and still cover more jobs. A wedge anchor has a fixed length, so every embedment depth and fixture thickness combination becomes its own part number. On a large project with several connection types, that difference multiplies quickly.
Installation labour typically runs the other way. A wedge anchor is set with a single tool and a torque wrench, and the fixture is clamped in the same motion. A drop-in anchor requires the sleeve to be set first and the bolt installed later, which means the same location gets visited twice and the setting punch has to be on site in every required diameter.
- Specify diameter, embedment length, overall length, material and coating on the purchase order. Missing any one of these invites substitution.
- Confirm the drill bit size alongside the anchor order. Sending the wrong bit to site is a delivery failure even if the anchors are correct.
- Check that the quantity of setting punches matches the number of anchor diameters on the schedule.
- Ask for dimensional inspection records where the anchor carries a structural load or where project documentation requires traceability.
- For exposed installations, confirm coating thickness and salt spray performance rather than relying on a generic "galvanized" description.
Lead time planning should account for the fact that non-standard lengths, stainless grades, and heavy-diameter anchors are usually made to order rather than pulled from stock. Ordering those items late in a programme is a reliable way to delay handover.
Frequently Asked Questions
Can I use a drop-in anchor instead of a wedge anchor?
Only if the load path, the fixture design, and the loading direction allow it. A drop-in anchor cannot replicate the continuous steel stud of a wedge anchor, and it is generally unsuitable for high tension loads in thick sections. If the design calls for a specific anchor type and diameter, substituting another family requires re-checking the connection rather than simply matching the hole size.
Which anchor type is stronger?
At the same nominal diameter and embedment, a wedge anchor usually develops higher tension resistance because the load travels through unbroken steel from the fixture to the expansion zone. Drop-in anchors are limited by the sleeve wall thickness and the internal thread. Real capacities depend on concrete strength, embedment depth, and edge distance, so use the manufacturer's published data for the specific product rather than a general rule.
Can a drop-in anchor be removed?
The bolt can be removed. The sleeve cannot, at least not without damage. If the threaded insert is stripped or the sleeve was set badly, it has to be drilled out and the hole relocated or repaired before a new anchor is installed.
Can a wedge anchor be reused?
No. Once the clip has expanded against the concrete, the anchor cannot be withdrawn cleanly. If you need to remove the fixture, unscrew the nut; the stud stays in place. A second anchor in the same hole is not an option after removal.
What drill bit size do I need?
For a wedge anchor, the bit matches the anchor diameter. For a drop-in anchor, the bit matches the sleeve, which is one size larger than the bolt. A 3/8 inch drop-in anchor needs a 1/2 inch bit. Getting this wrong is the most common cause of loose anchors in both families.
Do both work in cracked concrete?
Not automatically. Standard expansion anchors rely on the concrete staying intact around the expansion zone. For cracked concrete, you need a product specifically tested and rated for that condition, and the published capacity will be lower than the uncracked value. Always check the data for the actual product, not the general category.
How deep should I drill?
For a wedge anchor, drill the embedment depth plus the fixture thickness, with a small allowance so the anchor does not bottom out. For a drop-in anchor, drill deep enough that the top of the sleeve finishes flush with the surface. Both values are specified by the anchor manufacturer and should be measured, not estimated.
Which one is faster to install?
A wedge anchor, in most cases, because setting and clamping happen in one operation. Drop-in anchors need a separate setting step and a separate bolt installation, which means two visits to the same point and slightly more handling overall.
Are stainless anchors necessary for outdoor use?
Not always. Hot-dip galvanized carbon steel performs well in many exterior environments. Stainless becomes the safer choice near the coast, in industrial atmospheres, and wherever chlorides are present. The cost difference is far smaller than the cost of replacing an anchor system that has corroded in place.
What is the most common installation mistake?
Failing to clean the hole. Dust, drill cuttings and water reduce the friction between the anchor and the concrete, and the effect on capacity is disproportionate to how minor it looks. Blow, brush, blow again, and do not skip the second blow.


Contact Us