What are the steps to correctly install a hammer drive anchor
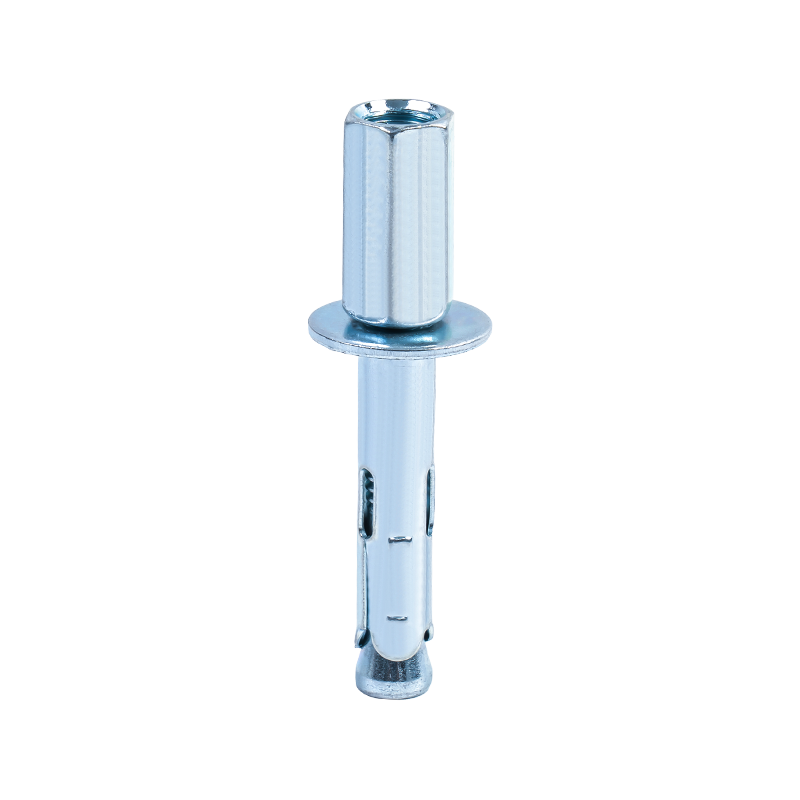
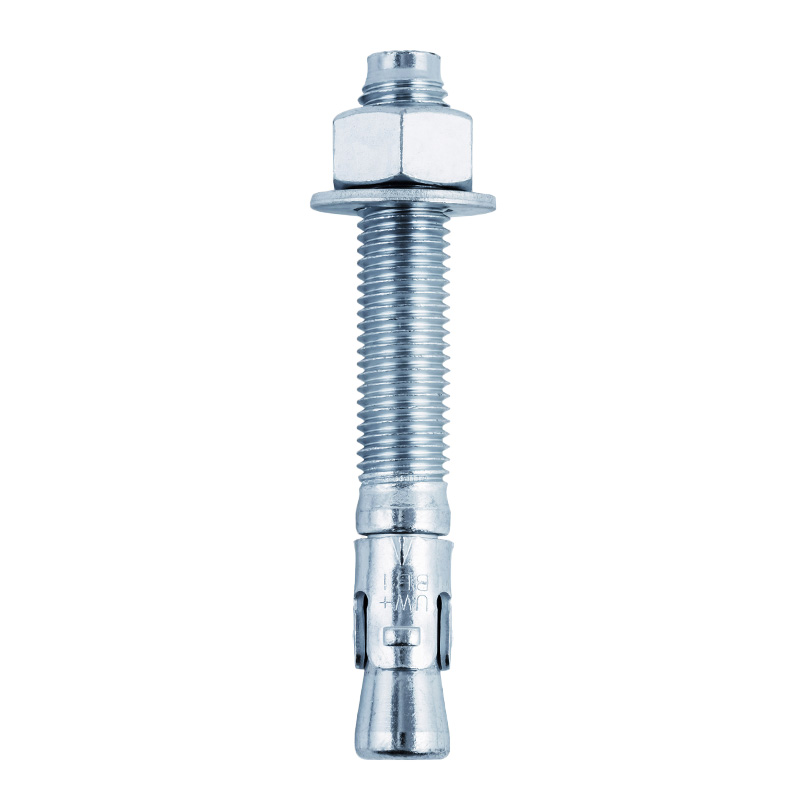
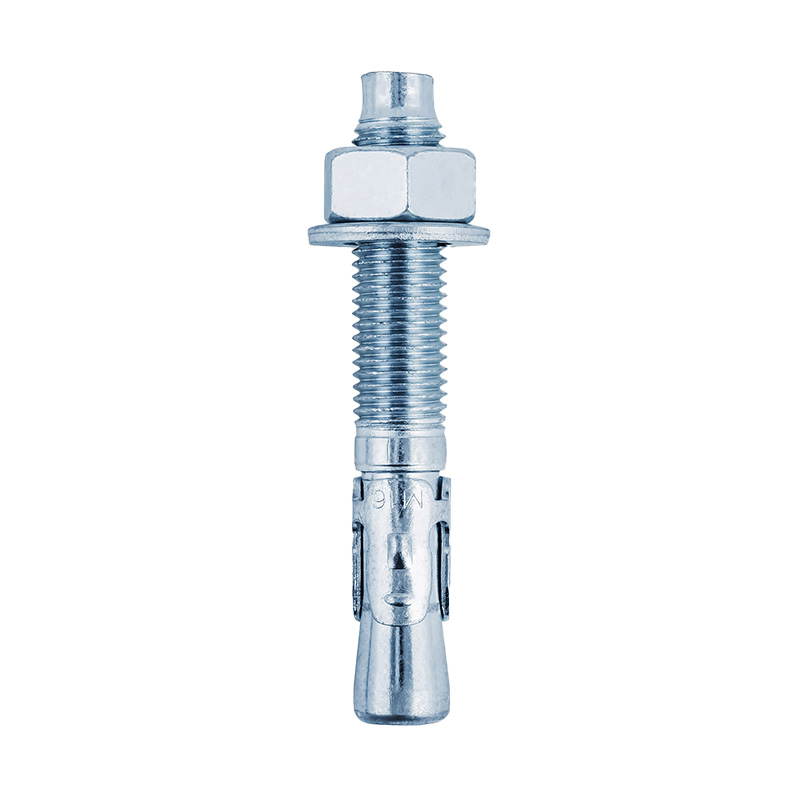
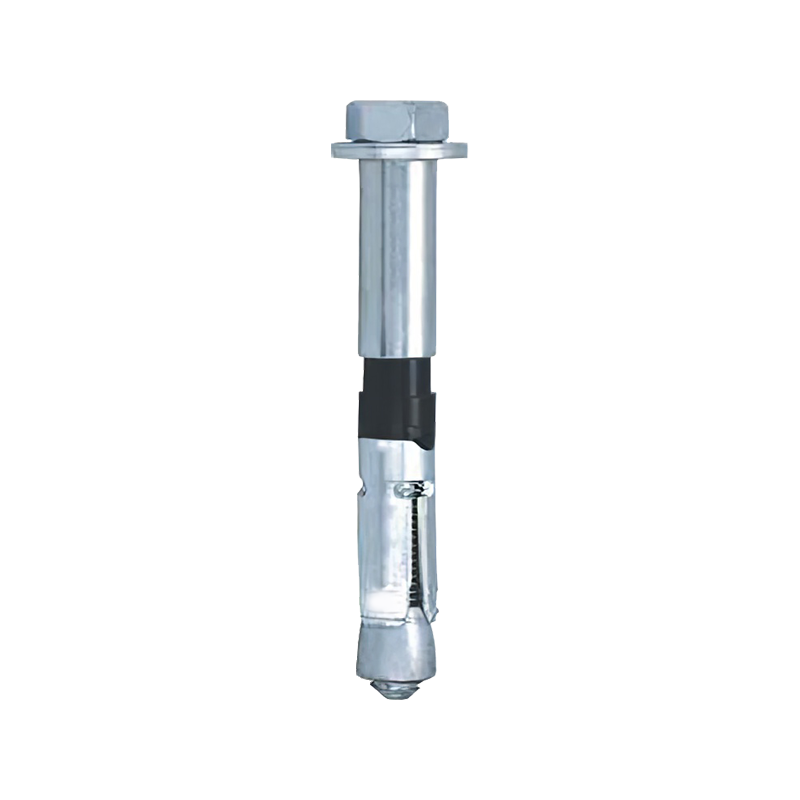
2025-08-26Hammer Drive Anchors, also known as hammer-type expansion anchors, are a common type of fastener used in construction and industrial fastening. They are widely used on substrates such as concrete, masonry, and gypsum board. Proper installation method is directly related to the anchor's load-bearing capacity and long-term stability.
Choosing the Right Hammer Drive Anchor
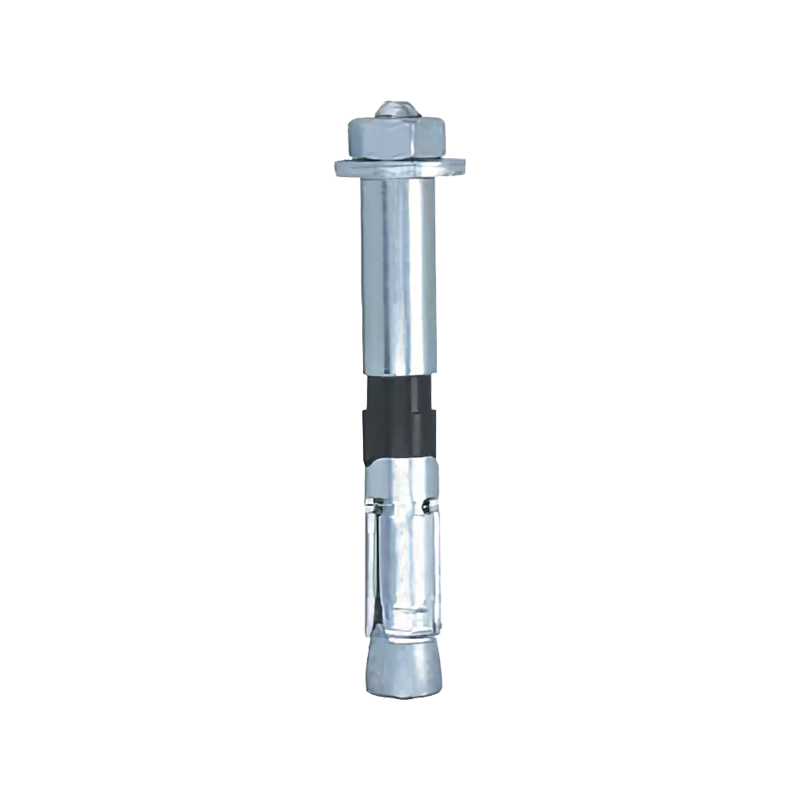
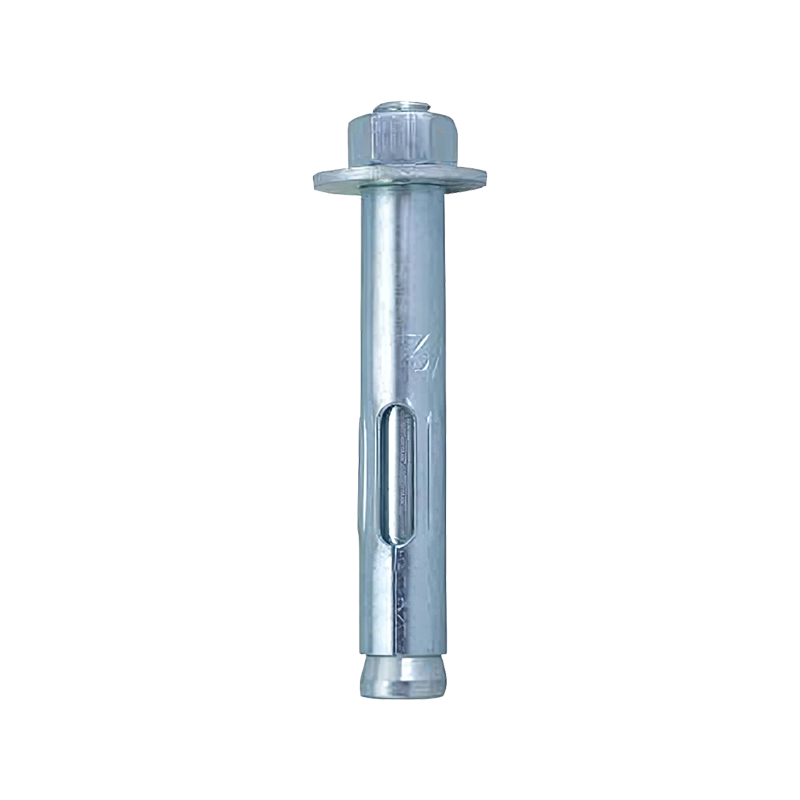
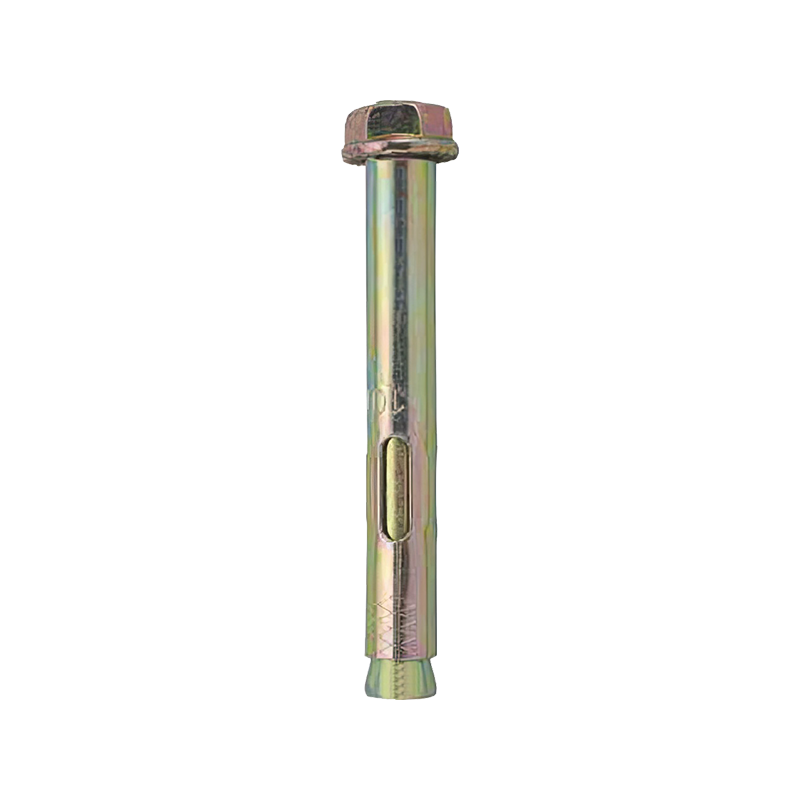
Before installation, it is important to select the appropriate Hammer Drive Anchor model based on the substrate type, the load being secured, and the operating environment. Common models include stainless steel, galvanized steel, and high-strength steel. Choosing anchors of varying diameters and lengths based on application requirements ensures optimal performance under tension and shear forces. Choosing the right anchor prevents loosening or slippage after installation and extends the anchor's lifespan.
Determining the Installation Location and Marking the Hole Positions
Before installation, the Hammer Drive Anchor's installation location must be accurately determined and marked. It is recommended to use a professional marking tool to mark the center of the anchor hole on the substrate surface. When marking, consider the minimum spacing between anchors and a safe distance from the edge to prevent cracking of the substrate due to holes being too close or too close to the edge. Accurate hole marking is crucial for ensuring installation quality.
Drilling and Hole Diameter Inspection
When drilling, use an electric drill or impact drill that matches the specifications of the anchor to ensure the hole diameter matches the anchor diameter. The drilling depth should be slightly greater than the length of the Hammer Drive Anchor to ensure full penetration of the anchor. During drilling, keep the drill bit perpendicular to the substrate surface to prevent tilting the hole, which can affect the anchoring effect. After drilling, remove dust, debris, and moisture from the hole. Use an air pump or brush to clean the hole and ensure that the anchor is firmly in contact with the hole wall.
Anchor Installation
After cleaning the hole, align the Hammer Drive Anchor vertically with the hole opening. Use a rubber hammer or an adapter to gently tap the top of the anchor to ensure it is fully seated. Apply even force to avoid excessive force that may deform the anchor or damage the hole wall. Proper hammering ensures that the anchor forms a firm friction with the hole wall, achieving the designed load-bearing capacity.
Inspecting the Securement
After installation, inspect the Hammer Drive Anchor for proper tightening. Gently pull on the anchor to confirm it is secure and free of looseness. For applications requiring high load-bearing capacity, perform simple tensile or shear tests to ensure the anchor provides adequate stability in actual use. If any abnormalities are detected during the inspection, reinstall or replace the anchor promptly.
Adapting to Environmental Conditions
Hammer Drive Anchors require additional precautions when installed in special environments. In high-humidity, marine, or chemically corrosive environments, choose anchors made of corrosion-resistant materials and ensure the mounting holes are dry and clean. In low-temperature environments, moisture in the holes may freeze; pre-treatment should be performed to prevent impacts on installation depth and anchoring effectiveness. Adapting to environmental conditions can extend the lifespan and safety of the anchors.
Regular Maintenance and Inspections
After installation, establish a regular inspection schedule for the Hammer Drive Anchor. Regular inspection and maintenance of anchors exposed to long-term loads or vibrations can detect loosening or corrosion and ensure the long-term stability of the fixed structure. Proper maintenance not only extends the lifespan of the anchors but also ensures the safety of the installation.



Contact Us