How to determine if a hammer drive anchor is installed successfully
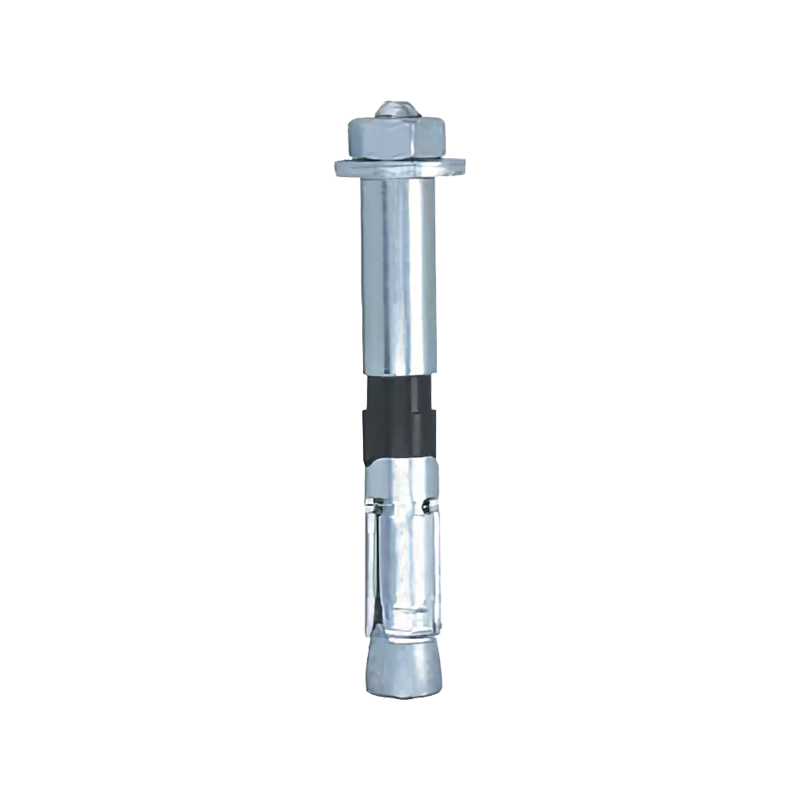
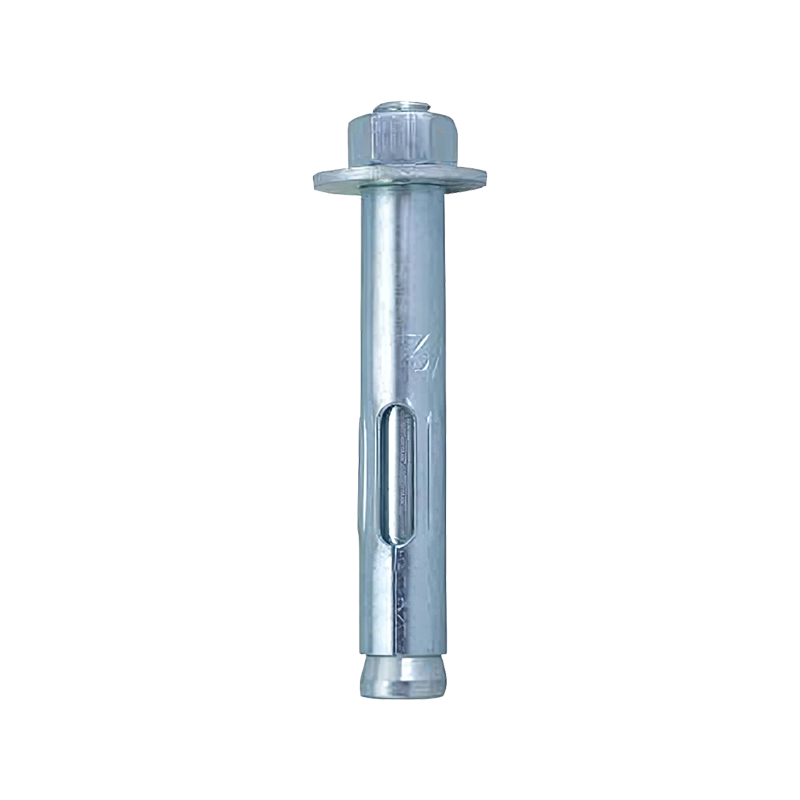
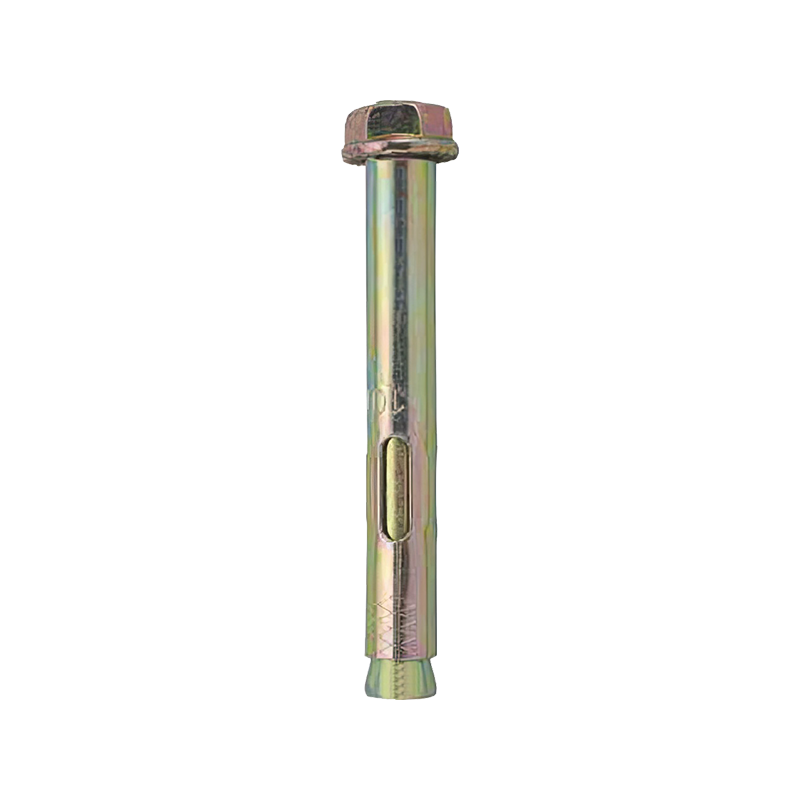
2025-09-29The Hammer Drive Anchor, a quick and easy-to-install mechanical anchor, is widely used in construction and renovation. However, the success of its installation is directly related to the safety and reliability of the anchor. Behind the seemingly simple act of hammering lies a series of professional criteria.
Visual Observation: The Most Intuitive Initial Judgment
In the absence of specialized equipment, experienced installers can make a preliminary assessment based on detailed observation.
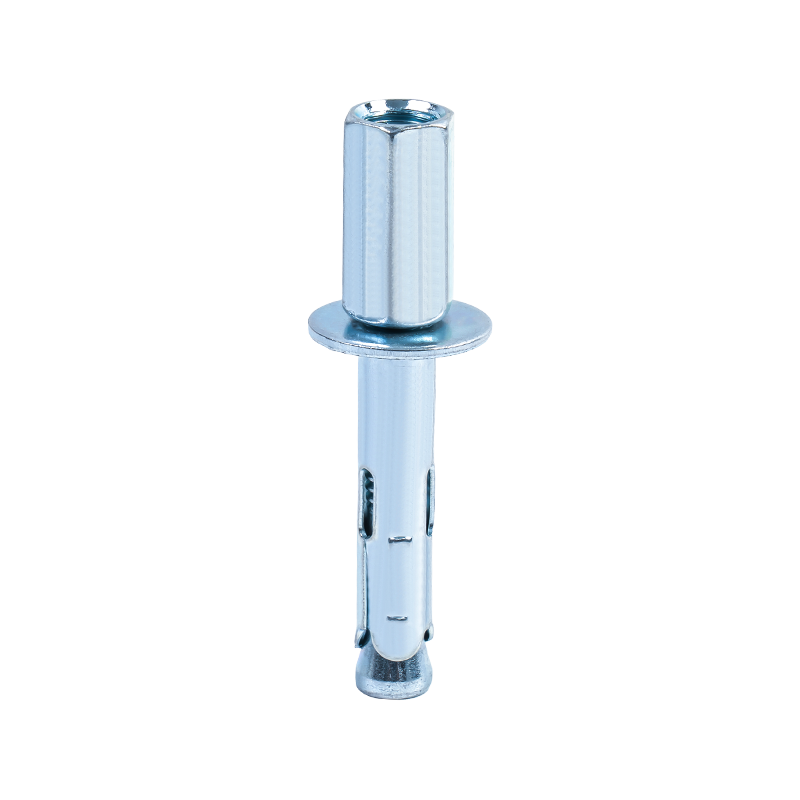
First, the flatness of the anchor head. After successful installation, the anchor head should be flush with the substrate surface or slightly recessed. A noticeable protrusion in the head usually indicates that the expansion screw has not been fully hammered in, and the anchor's expansion effect has not been fully achieved. In this case, the anchor's pullout and shear resistance will be significantly reduced. Conversely, excessive hammering may cause deformation of the anchor head or cracks in the substrate surface, which is also a sign of installation failure.
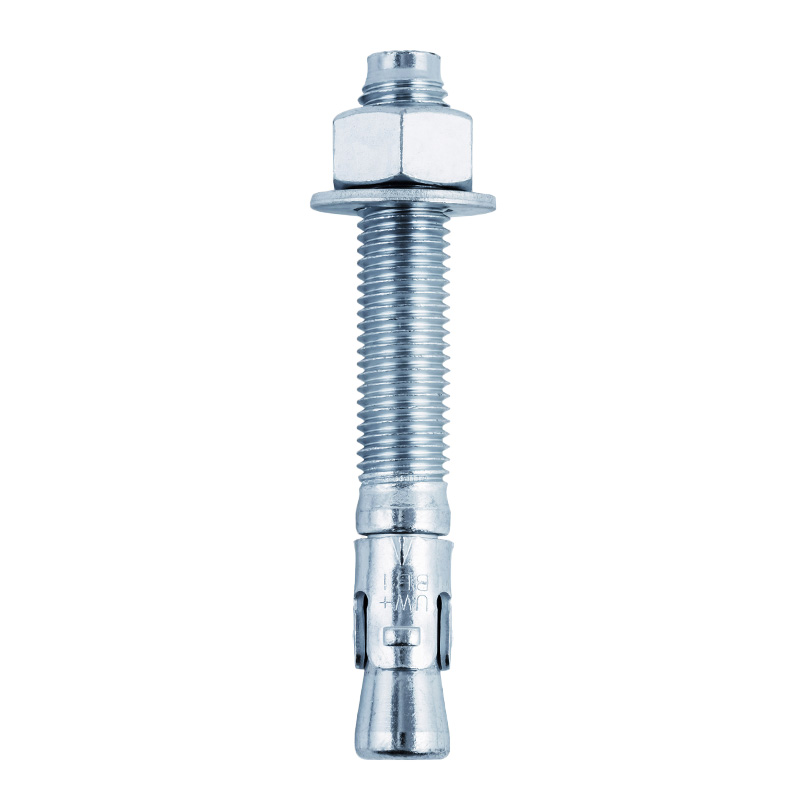
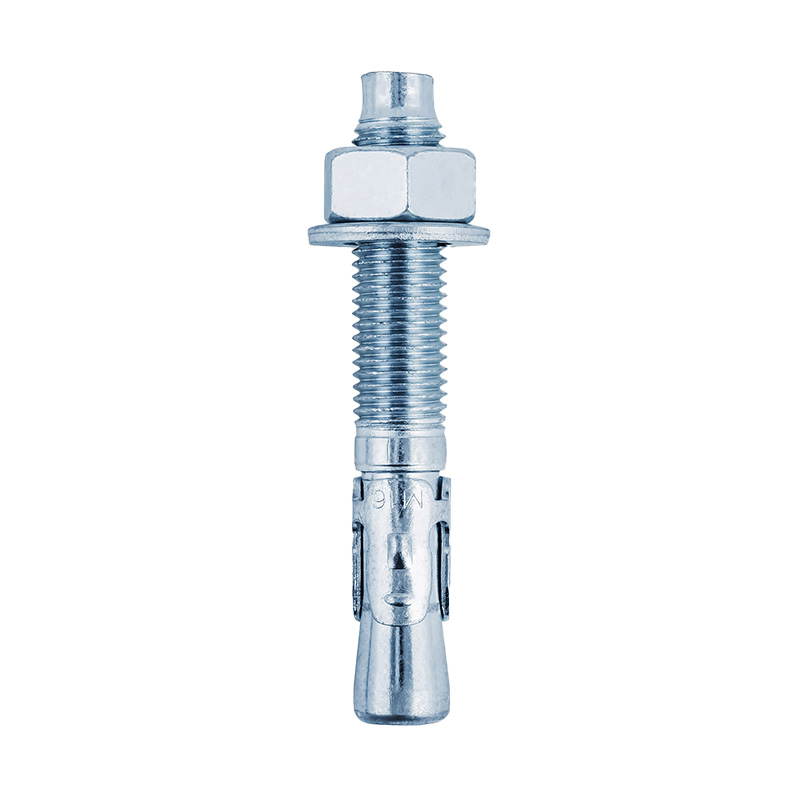
Second, the condition of the expansion screw should be considered. The expansion screw should be fully hammered into the anchor body, with its top flush with the groove in the anchor head. If the expansion screw protrudes excessively, it indicates the anchor has not fully expanded. If the screw is deformed, it may mean that the hammering force was too great, causing damage to the anchor or the screw itself.
Finally, inspect the substrate surface. There should be no visible cracks, debris, or damage around the installation hole. Cracks are caused by excessive radial pressure on the substrate during anchor expansion, indicating possible anchor failure or potential safety hazards.
Audio Feedback: The Hidden Message in the Hammering
For experienced installers, the acoustic feedback of hammering is a crucial indicator of installation success. During the hammering process, the sound will gradually change from a hollow, dull sound to a crisp, firm one. Once the expansion screw is fully inserted and the anchor has fully expanded, the sound changes significantly, indicating that the anchor is firmly wedged into the substrate. If the hammering sound remains dull, it may mean that the expansion screw was not fully inserted, or that there are cavities or cracks within the substrate, resulting in expansion failure.
Shake Test: A Simple but Effective Mechanical Verification
After installation, a simple shake test is an effective way to verify the anchor's security. Gently shake the anchor bolt left and right, and up and down, using your hands or a tool. A successfully installed Hammer Drive Anchor should remain motionless, with no sense of looseness. Any perceptible movement indicates the anchor bolt is not generating effective expansion or friction, and its load-bearing capacity is unreliable.
Professional Pull-out Testing: The Most Authoritative Verification Method
In critical projects with stringent load-bearing requirements, visual and acoustic judgment alone is insufficient. A professional pull-out test is the most authoritative way to verify the successful installation and load-bearing performance of an anchor bolt.
Pull-out testing typically uses a dedicated pull-out tester. This instrument applies a controlled pull-out force to the installed anchor bolt using hydraulic or mechanical means, recording the force in real time. The testing process typically adheres to industry standards such as ASTM or European ETA standards. The test results provide the anchor bolt's displacement under varying force levels, as well as its ultimate pull-out strength.
Pull-out testing can confirm whether the anchor bolt meets the manufacturer's specified load rating. If the test results are much lower than expected, it indicates that there are problems with the installation process and may need to be re-evaluated and re-installed. This test not only verifies the quality of the installation, but also provides quantitative data for the safety margin of the project.



Contact Us