How do installers determine on-site whether a single expansion anchor bolt has reached the correct installation torque
2025-11-24Understanding the Critical Role of Installation Torque
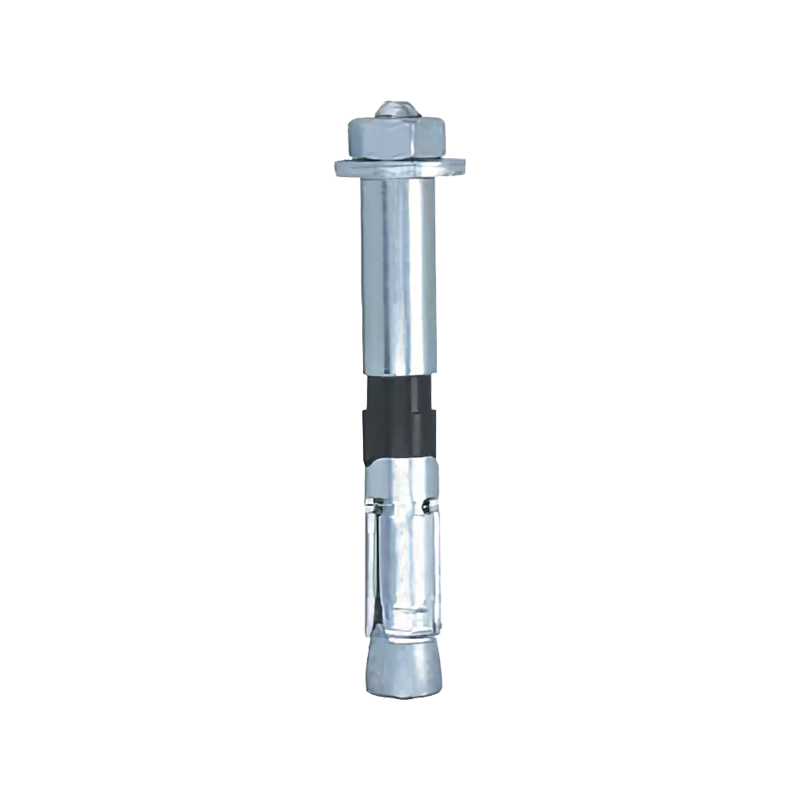
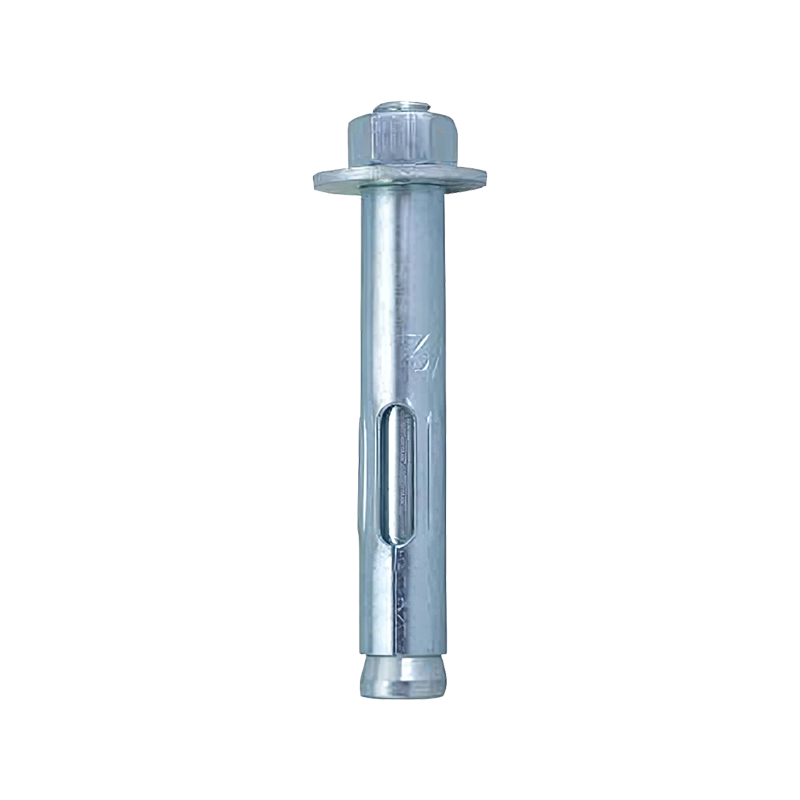
The reliability of a Single Expansion Anchor is fundamentally dependent on its torque-controlled installation process. Installation Torque is the rotational moment applied by the installer to the nut or bolt head, which causes the anchor to expand and wedge securely against the concrete hole wall.
This torque serves two primary functions:
- Generating Expansion Pressure: The torque forces the expansion sleeve onto the tapered cone, establishing immense radial pre-tension and frictional resistance against the hole wall. This resistance is the basis for the anchor's pullout capacity.
- Establishing Pre-Load: In non-seismic applications, the correct torque induces an axial pre-load tension within the anchor rod itself. This is crucial for preventing the attached fixture from loosening when subjected to dynamic or cyclic loading.
If the anchor is under-torqued, insufficient expansion occurs, leading to a severe reduction in load capacity. Conversely, over-torquing can cause anchor rod steel yield, thread damage, or, critically, concrete splitting failure around the hole perimeter.
Professional Tools and Methods for Field Verification
Accurate field verification of the anchor's installation torque must rely on precision measuring instruments and formalized procedures, moving beyond simple "feel" or experience.
1. The Core Tool: The Calibrated Torque Wrench
This is the only reliable tool for assessing anchor compliance in the field.
- Wrench Type Selection: Only professionally calibrated torque wrenches must be used. Common types include Dial Type, Click Type, or Digital Type. Dial and Digital wrenches offer real-time readings, ideal for precise control. Click wrenches provide a tactile/audible signal when the preset torque is reached, suitable for repetitive operations.
- Calibration is Mandatory: Torque wrenches must undergo regular calibration by certified professionals. Uncalibrated wrenches can introduce a 10%-20% deviation, leading to widespread non-compliant installations. Installers must verify the wrench’s current calibration certificate.
- Torque Value Setting: Prior to installation, the installer must accurately set the wrench to the required installation torque value, as specified by the anchor manufacturer’s technical manual and the engineering design drawings.
2. Standardized Torque Application Procedure
A standardized process ensures the torque applied is both accurate and effective:
- Preparation: Ensure the hole is thoroughly cleaned of dust and debris, and anchor components are lubricated (if required by the manufacturer). Contamination significantly increases thread friction, skewing the torque reading.
- Snugging Phase: The nut is initially tightened by hand or with a standard wrench until the washer contacts the fixture, eliminating all gaps. This step ensures the anchor has begun to engage its expansion mechanism.
- Precision Application: Using the calibrated torque wrench, the torque must be applied smoothly and evenly until the preset installation torque value is reached. For click wrenches, stop upon the clear "click" sound/feel; for digital wrenches, stop exactly at the target reading.
- Avoiding Overtorque: Application must cease immediately upon reaching installation torque to prevent excessive tension that could lead to steel yielding or base material splitting.
Visual Inspection and Anomaly Identification
While the torque wrench confirms the rotational force, installers must perform a visual inspection to detect underlying installation defects, as the anchor may still be non-compliant even if the torque is met.
1. Anchor Component Check
- Thread Integrity: Check the anchor rod threads for signs of elongation, deformation, or stripping. Damaged threads are a direct indicator of over-torquing.
- Washer Condition: Inspect the washer for extreme bending or distortion, which also suggests excessive torque application.
- Protruding Length: Verify the length of the bolt or stud protruding past the nut. A minimum of one to three full thread turns should be visible. Excessive length or a deeply recessed nut may indicate improper setting depth.
2. Concrete Substrate Condition Check
- Concrete Splitting: The most critical visual check is for cracking, spalling, or blowout on the concrete surface around the anchor point. This immediately signals over-torquing or insufficient edge distance. Any cracked anchor must be immediately tagged as non-compliant.
- Fixture Gaps: Ensure there is no visible gap between the anchored fixture and the concrete base material. A gap indicates that the anchor has failed to fully seat and establish the necessary pre-load.
Quality Assurance and Verification Testing
Professional anchoring requires a structured Quality Assurance (QA) program. Achieving installation torque is just the installation step.
- Verification Torque Test: QA personnel should randomly sample installed anchors using a calibrated torque wrench for a re-torque test. The method involves attempting to turn the nut a fraction more (e.g., 5 degrees). If the wrench reaches or exceeds installation torque without the nut turning, the anchor is confirmed to be secured.
- Proof Load Testing: For critical or suspicious anchors, On-site Pullout Testing must be performed according to code. Pullout testing is the only method that directly verifies the anchor's ultimate load-carrying capacity, moving beyond simple torque confirmation to guarantee safety.
By utilizing calibrated tools, strictly following procedural steps, and integrating detailed visual inspection, installers can accurately and scientifically verify that the single expansion anchor has reached the correct installation torque, thereby guaranteeing the safety and reliability of the entire anchoring system.



Contact Us